-
Cisco IP Solution Center Traffic Engineering Management User Guide, 4.0
-
Index
-
About This Guide
-
Introduction to ISC TEM
-
Setting Up the Service
-
TE Network Discovery
-
TE Resource Management
-
Basic Tunnel Management
-
Advanced Primary Tunnel Management
-
Protection Planning
-
Traffic Admission
-
Administration
-
Task Monitoring
-
TE Topology
-
Traffic Engineering Management GUI
-
Warnings and Violations
-
Document Type Definition (DTD) File
-
 Feedback
Table Of Contents
TE Resource Management
TE resource management is defined as the tuning of certain properties on the TE interfaces to optimize the tunnel placement.
This chapter includes the following sections:
Overview
When a tunnel placement is attempted and there is insufficient bandwidth, sometimes the resources on the TE links can be changed and the tunnel placement retried.
Network resources in this context are understood to be routers in the TE network, the interfaces that connect them, and the RSVP bandwidths and other properties configured on the links. Since ISC TEM relies on the discovery process to add the network elements to the repository, the resources must be discovered before resource management can be performed.
TE resource management is a manual process that should be performed on an as needed basis. If the original configuration is already optimal, there is no need for the user to do any resource management tasks. If subsequent discovery unveils any discrepancy, or if you experience difficulty achieving desired results in protection planning or placing primary tunnels, adjustments on the resources may be warranted.
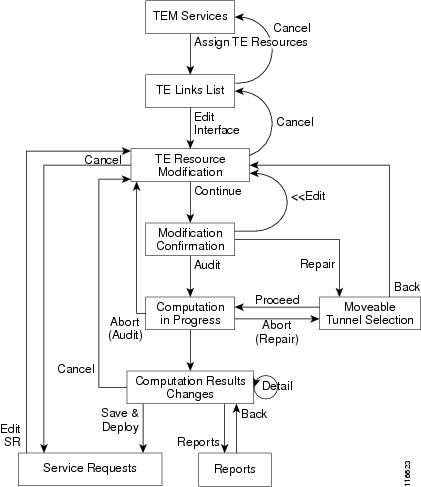
An overview of the resource management process is provided in Figure 4-1.
Figure 4-1 Resource Management Processes
Modifying Network Resources
The resource management tasks are first of all carried out from the TE Links List window.
To modify a TE link, use the following steps:
Step 1
Navigate Service Inventory > Inventory and Connection Manager > Traffic Engineering Management > Assign TE Resources.
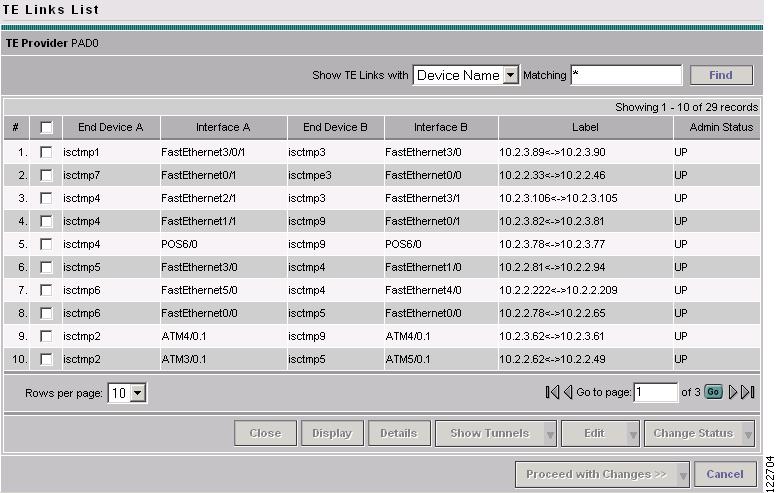
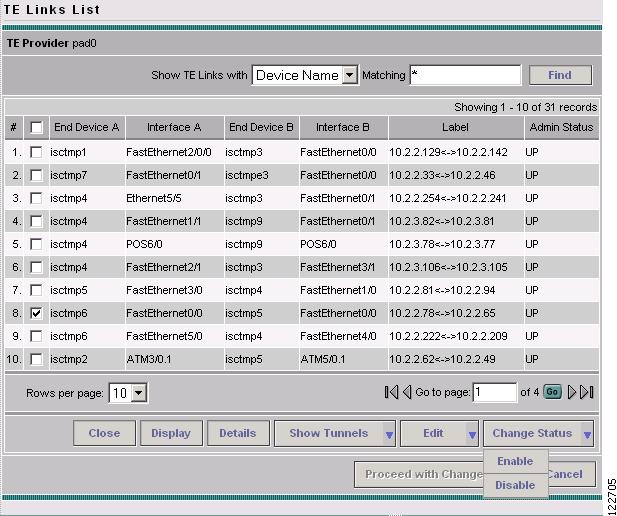
The TE Links List window shown in Figure 4-2 appears.
Figure 4-2 TE Links List
For an explanation of the various window elements, see TE Links.
The links list shows the current active links in the TE network. Use the arrows to page forward as needed.
Step 2
Step 3
Step 4
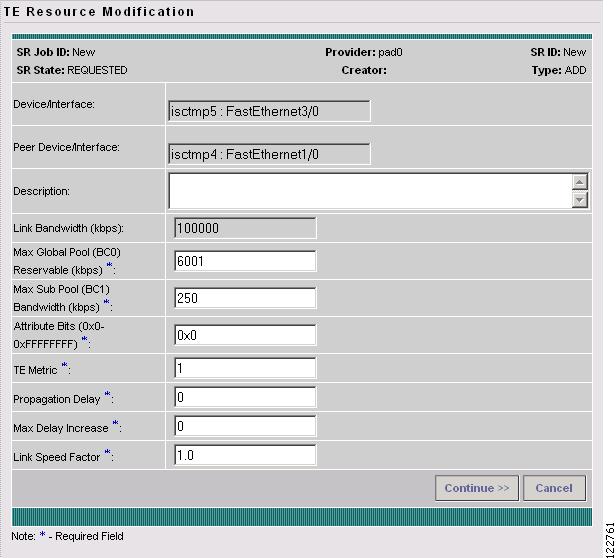
Figure 4-3 TE Resource Modification
For an explanation of the various fields, see TE Links.
Step 5
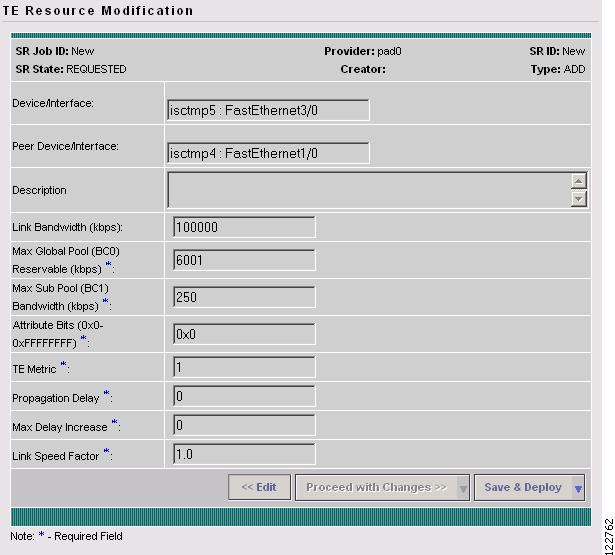
Figure 4-4 TE Resource Modification (Confirmation Page)
Step 6
•
For a detailed explanation of Tunnel Audit and Tunnel Repair, see Chapter 6, "Advanced Primary Tunnel Management."
•
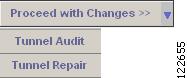
Figure 4-5 TE Links List - Proceed with Changes
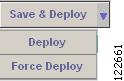
Figure 4-6 Save & Deploy Tunnels
For an explanation of the options available under Proceed with Changes >> and Save & Deploy, see Edit Interface
Note
After deployment, the SR status can be viewed from the SR window at Service Inventory > Inventory and Connection Manager > Service Requests.
If the SR does not go to the Deployed state, go to the Task Log to see the deployment log (Monitoring > Task Manager > Logs). Task logs are further described in TE Task Logs, page 10-1.
Change Link Status
From the TE Links List window (Figure 4-2), you can also find out what effect it will have if a link is taken offline. This approach can be used to move tunnels off a link before actually shutting down the interface.
Note
To change the link status, use the following steps:
Step 1
The TE Links List window appears.
Step 2
Figure 4-7 Change Link Status
For an explanation of the various window elements, see TE Links.
Step 3
Step 4
Figure 4-8 Link Status Down
Similarly, use Enable to change the status back to UP.
Step 5
Figure 4-9 TE Links List - Proceed with Changes
For a detailed explanation of Tunnel Audit and Tunnel Repair, see Chapter 6, "Advanced Primary Tunnel Management.".