-
Cisco IOS Software Configuration Guide for Cisco Aironet 1300 Series Outdoor Access Point/Bridge 12.3(7)JA
-
Preface
-
Overview
-
Configuring the Access Point/Bridge for the
-
Using the Web-Browser Interface
-
Using the Command-Line Interface
-
Administering the Access Point/Bridge
-
Configuring Radio Settings
-
Configuring Multiple SSIDs
-
Configuring Spanning Tree Protocol
-
Configuring Cipher Suites and WEP
-
Configuring Authentication Types
-
Configuring WDS, Fast Secure Roaming, Radio Management, and Wireless Intrusion Detection Services
-
Configuring RADIUS and TACACS+ Servers
-
Configuring VLANs
-
Configuring QoS
-
Configuring Filters
-
Configuring CDP
-
Configuring SNMP
-
Managing Firmware and Configurations
-
Configuring System Message Logging
-
Configuring Repeater and Standby Access Points and Workgroup Bridge Mode
-
Troubleshooting
-
Protocol Filters
-
Supported MIBs
-
Error and Event Messages
-
Glossary
-
 Feedback
Table Of Contents
Using the Web-Browser Interface
Using the Web-Browser Interface for the First Time
Using the Management Pages in the Web-Browser Interface
Character Restrictions in Entry Fields
Enabling HTTPS for Secure Browsing
Changing the Location of Help Files
Disabling the Web-Browser Interface
Using the Web-Browser Interface
This chapter describes the web-browser interface that you can use to configure the access point/bridge. It contains these sections:
•
Using the Web-Browser Interface for the First Time
•
•
•
The web-browser interface contains management pages that you use to change access point/bridge settings, upgrade firmware, and monitor and configure other wireless devices on the network.
Note
Note
Using the Web-Browser Interface for the First Time
Use the access point/bridge's IP address to browse to the management system. See the "Obtaining and Assigning an IP Address" section for instructions on assigning an IP address to the access point/bridge.
Follow these steps to begin using the web-browser interface:
Step 1
Step 2
Step 3
Using the Management Pages in the Web-Browser Interface
The system management pages use consistent techniques to present and save configuration information. A navigation bar is on the left side of the page, and configuration action buttons appear at the bottom. You use the navigation bar to browse to other management pages, and you use the configuration action buttons to save or cancel changes to the configuration.
Note
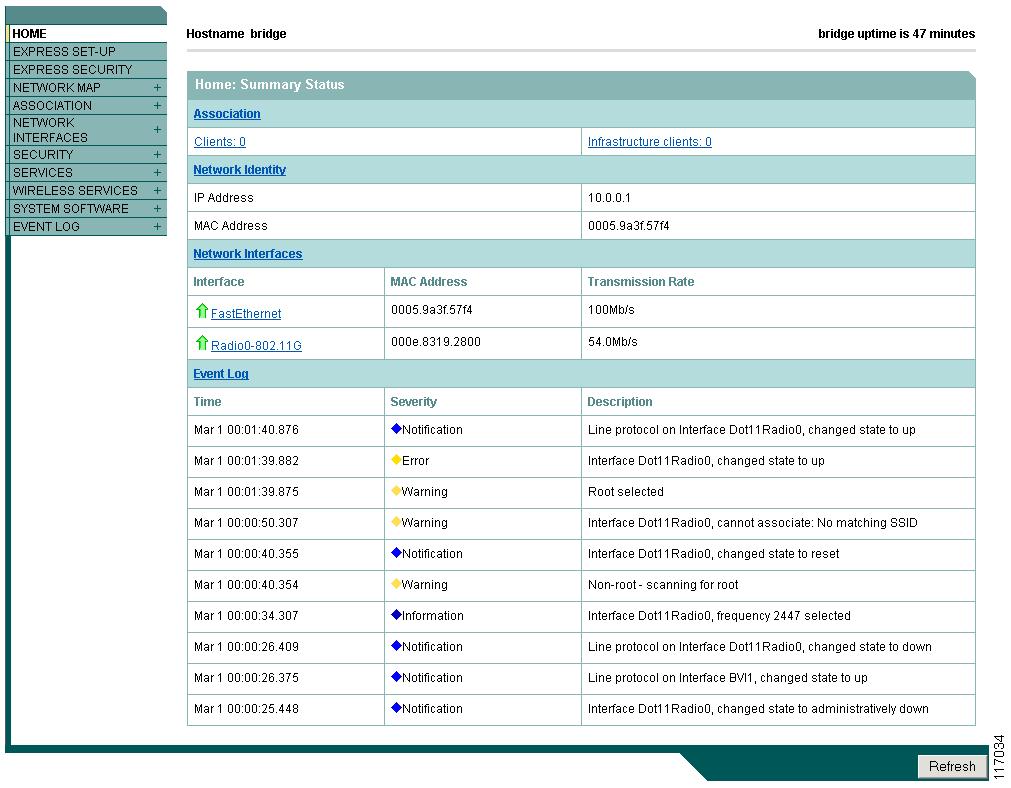
Figure 3-1 shows the web-browser interface home page.
Figure 3-1 Web-Browser Interface Home Page
Using Action Buttons
Table 3-1 lists the page links and buttons that appear on most management pages.
Character Restrictions in Entry Fields
Because the 1300 series access point/bridge uses Cisco IOS software, there are certain characters that you cannot use in the entry fields on the web-browser interface. You cannot use these characters in entry fields:
"
]
+
/
Tab
Trailing spaceEnabling HTTPS for Secure Browsing
You can protect communication with the access point/bridge web-browser interface by enabling HTTPS. HTTPS protects HTTP browser sessions by using the Secure Socket Layer (SSL) protocol.
Note
Note
Follow these steps to create an FQDN and enable HTTPS:
Step 1
Step 2
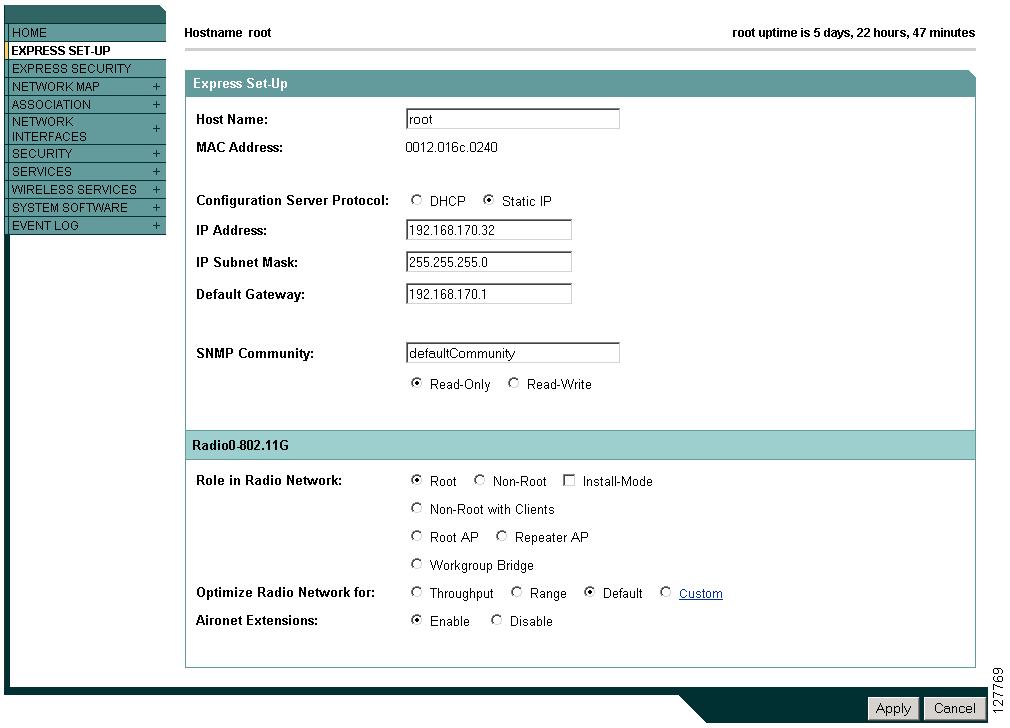
Figure 3-2 Express Setup Page
Step 3
Step 4
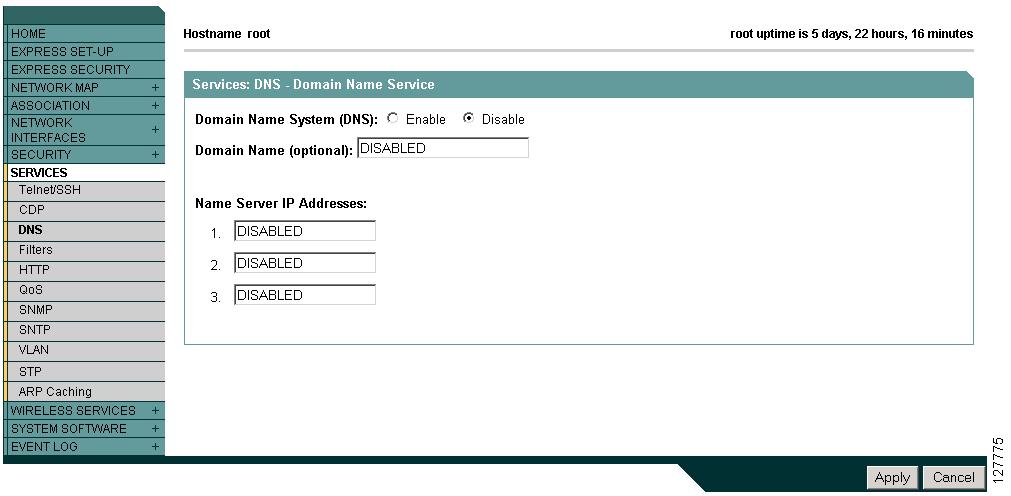
Figure 3-3 Services - DNS Page
Step 5
Step 6
Step 7
Step 8
Step 9
Tip
Step 10
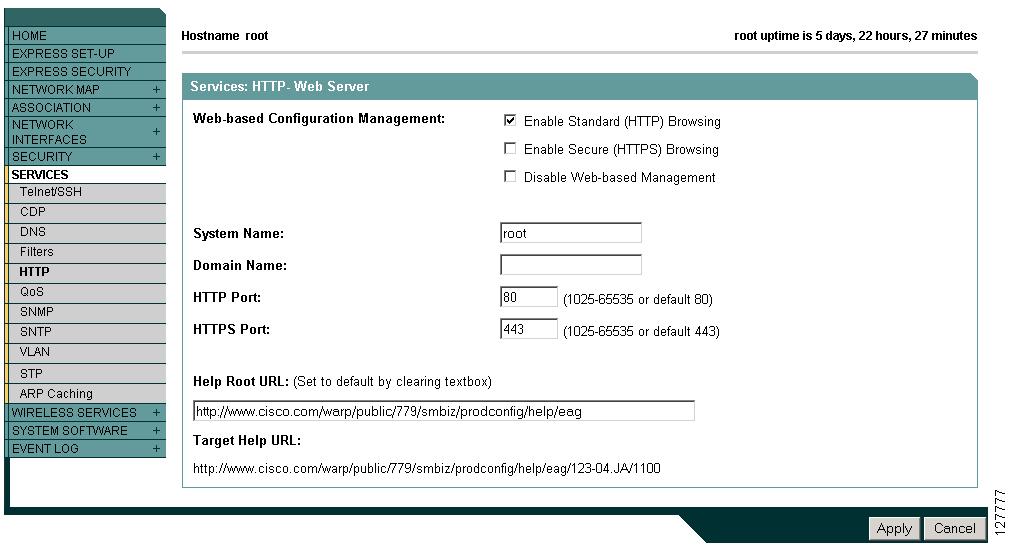
Figure 3-4 Services: HTTP Web Server Page
Step 11
Note
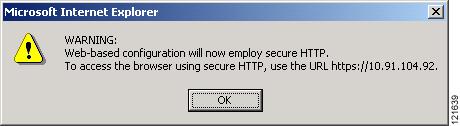
A warning window appears stating that you will use HTTPS to browse to the access point. The window also instructs you to change the URL that you use to browse to the access point/bridge from http to https. Figure 3-5 shows the warning window:
Figure 3-5 HTTPS Warning Window
Step 12
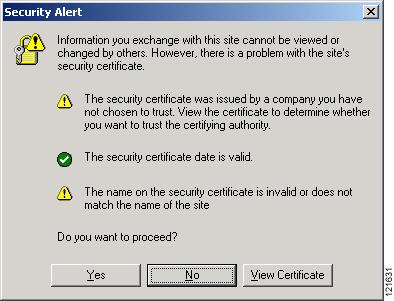
Step 13
Figure 3-6 Certificate Warning Window
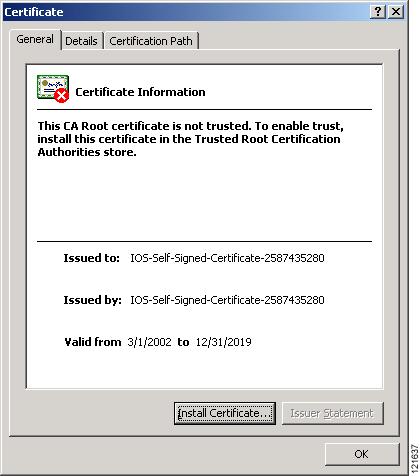
Step 14
Figure 3-7 Certificate Window
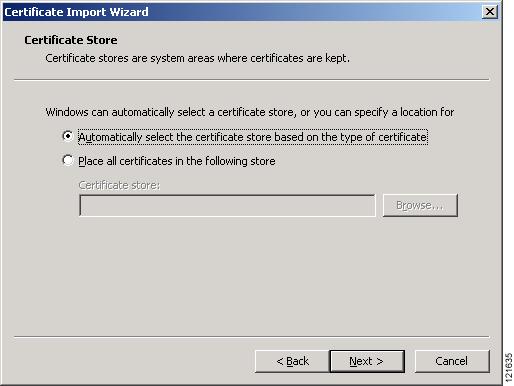
Step 15
Figure 3-8 Certificate Import Wizard Window
Step 16
Figure 3-9 Certificate Storage Area Window
Step 17
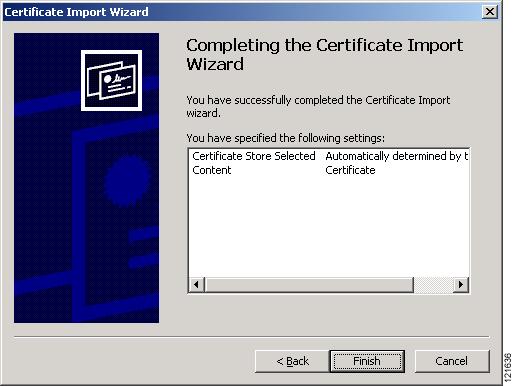
Figure 3-10 Certificate Completion Window
Step 18
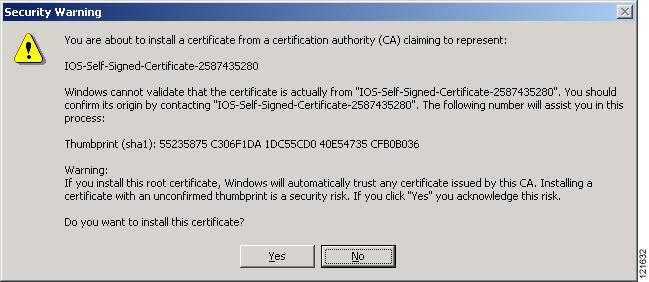
Figure 3-11 Certificate Security Warning
Step 19
Figure 3-12 Import Successful Window
Step 20
Step 21
Step 22
Step 23
CLI Configuration Example
This example shows the CLI commands that are equivalent to the steps listed in the "Using Online Help" section:
ap# configure terminalap(config)# hostname br1310ap(config)# ip domain name company.comap(config)# ip name-server 10.91.107.18ap(config)# ip http secure-serverap(config)# endIn this example, the access point system name is br1310, the domain name is company.com, and the IP address of the DNS server is 10.91.107.18.
For complete descriptions of the commands used in this example, consult the Cisco IOS Commands Master List, Release 12.3. Click this link to browse to the master list of commands:
http://www.cisco.com/en/US/products/sw/iosswrel/ps5187/products_product_indices_list.html
Deleting an HTTPS Certificate
The access point generates a certificate automatically when you enable HTTPS. However, if you need to change the access point's fully qualified domain name (FQDN) or you need to add an FQDN after enabling HTTPS, you might need to delete the certificate. Follow these steps:
Step 1
Step 2
Step 3
Step 4
Using Online Help
Click the help icon at the top of any page in the web-browser interface to display online help. Figure 3-13 shows the print and help icons.
Figure 3-13 Print and Help Icons
When a help page appears in a new browser window, use the Select a topic drop-down menu to display the help index or instructions for common configuration tasks, such as configuring VLANs.
Changing the Location of Help Files
Cisco maintains up-to-date HTML help files for access points and bridges on the Cisco web site. By default, the access point/bridge opens a help file on Cisco.com when you click the help button on the access point web-browser interface. However, you can install the help files on your network so your devices can access them there. Follow these steps to install the help files locally:
Step 1
http://www.cisco.com/cisco/software/navigator.html
Select the help files that match the software version on your access point.
Step 2
Step 3
Figure 3-14 HTTP Web Server Page
Step 4
Note
If you unzip the help files on your network file server at //myserver/myhelp, your Default Help Root URL looks like this:
http://myserver/myhelp
Table 3-2 shows an example help location and Help Root URL for an 1100 series access point.
Step 5
Disabling the Web-Browser Interface
To prevent all use of the web-browser interface, select the Disable Web-Based Management check box on the Services: HTTP-Web Server page and click Apply. Figure 3-15 shows the Services: HTTP-Web Server page.
Figure 3-15 Services: HTTP-Web Server Page
To re-enable the web-browser interface, enter this global configuration command on the access point CLI:
ap(config)# ip http server