-
Administration Guide for Cisco Virtualization Experience Client Manager 4.9
-
Preface
-
Getting Started
-
Device Manager
-
Package Manager
-
Cisco VXC Firmware and Configuration Upgrade Procedures
-
Update Manager
-
Report Manager
-
Configuration Manager
-
Appendix A: Working with Groups and Views
-
Appendix B: About Cisco VXC Manager Security
-
Appendix C: Upgrading Cisco VXC Manager Agents
-
Appendix D: Device Discovery, Device Imaging, and Mass Imaging Tool
-
Appendix E: Troubleshooting
-
Appendix F: Licensing and Sales Keys
-
Appendix G: Additional Package Manager Procedures
-
Appendix H: Cisco VXC Manager ScriptBuilder Tool and Scripting Language
-
Appendix I: Autogenic Imaging
-
 Feedback
Table Of Contents
Additional Package Manager Procedures
Managing Cisco VXC Manager Packages
Register an Image from a Device (Requires PXE)
Register a Configuration from a Device
Registering a Configuration from Third-party Devices Running Windows CE
Build and Register a CE Image Plus Add-Ons (CE Bundled Image)
Registering a Windows Configuration
Registering an Image from a Device Using WISard
Registering an Image from a Device Using WISard: Initial Setup and Use
Registering an Image from a Device Using WISard: After Initial Setup
Registering an Image from a Device Using Merlin
Registering an Image from a Device Using Merlin: Initial Setup and Use
Registering an Image from a Device Using Merlin: After Initial Setup
Additional Package Manager Procedures
This appendix describes how to perform additional routine Cisco VXC Manager package management tasks for third-party clients.
Note
This appendix contains additional Package Manager procedures that are applicable only to third-party clients. This appendix is not applicable to Cisco VXC clients.
Managing Cisco VXC Manager Packages
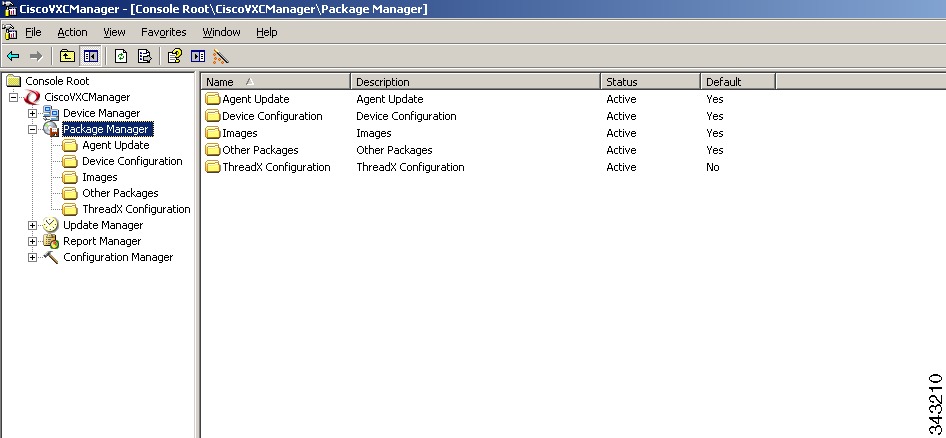
Clicking Package Manager in the tree pane of the Cisco VXC Manager Administrator Console opens the Package Manager. The Package Manager allows you to quickly view and manage the Cisco VXC Manager packages that can be distributed to the devices within your Cisco VXC Manager environment (see Table G-1). It also allows you to easily display the Cisco VXC Manager packages you want by using the filtering and customizing features available.
Figure G-1 Package Manager
Before using the Package Wizard to create and register Cisco VXC Manager packages, you should understand the update distribution process and the contents of Cisco VXC Manager packages, know the location of the existing Cisco VXC Manager packages that you want to register, know the location of the base image and the add-ons you want to add to it when creating CE bundled images, and ensure that the devices from which you will be getting images or configurations already have the Cisco VXC Manager Agent (HAgent) installed. After Cisco VXC Manager packages are registered, you can distribute them as updates to the devices within your Cisco VXC Manager network (see Update Manager).
Tip
Table G-1 provides a quick overview of what you can do using the Package Manager.
Table G-1 Routine Package Manager Tasks
Create and register an image from a device (for example, from a device running XPE or CE) so it is ready to be distributed.
In the tree pane of the Administrator Console, right-click Package Manager, choose New > Package to open the Package Wizard, choose the Register an Image from a Device (Requires PXE) option, and then follow the wizard.
TipCreate and register a Windows configuration from a device (for example, from a device running WES 2009 or WES 7) so it is ready to be distributed.
In the tree pane of the Administrator Console, right-click Package Manager, choose New > Package to open the Package Wizard, choose the Register a Windows Configuration option, and then follow the wizard.
Create and register a configuration from a third-party device running Wyse Enhanced SUSE Linux Enterprise or Linux v6.x so it is ready to be distributed.
In the tree pane of the Administrator Console, right-click Package Manager, choose New > Package to open the Package Wizard, choose the Register a Configuration from a Device option, and then follow the wizard.
TipRegister a Configuration from a Device and Registering a Configuration from Third-party Devices Running Wyse Enhanced SUSE Linux Enterprise or Linux v6.x
Create and register a configuration from a device running Windows CE so it is ready to be distributed.
In the tree pane of the Administrator Console, right-click Package Manager, choose New > Package to open the Package Wizard, choose the Register a Configuration from a Device option, and then follow the wizard.
TipRegister a Configuration from a Device and Registering a Configuration from Third-party Devices Running Windows CE
Create and register a CE image plus add-ons so it is ready to be distributed.
In the tree pane of the Administrator Console, right-click Package Manager, choose New > Package to open the Package Wizard, choose the Build and register a CE image plus add-ons ("CE bundled image") option, and then follow the wizard.
Build and Register a CE Image Plus Add-Ons (CE Bundled Image)
Use WISard to create and register an image from a device so it is ready to be distributed.
For first-time use, complete the instructions in Registering an Image from a Device Using WISard
TipRegistering an Image from a Device Using WISard: Initial Setup and Use and Registering an Image from a Device Using WISard: After Initial Setup
Use Merlin to create and register an image from a device so it is ready to be distributed.
For first-time use, complete the instructions in Registering an Image from a Device Using Merlin
TipRegistering an Image from a Device Using Merlin: Initial Setup and Use and Registering an Image from a Device Using Merlin: After Initial Setup
Delete a registered Cisco VXC Manager package from the system.
In the tree pane of the Administrator Console, expand Package Manager and choose the folder that contains the Cisco VXC Manager package. In the details pane, right-click the Cisco VXC Manager package, choose Delete, and then confirm the deletion.
You cannot delete default Cisco VXC Manager packages.
You cannot delete a registered Cisco VXC Manager package that is scheduled for distribution; you must first delete the scheduled update as described in Managing the Schedules for Device Updates before you can delete a registered Cisco VXC Manager package.
Caution
Tip
Register an Image from a Device (Requires PXE)
Note
This Package Wizard option requires that an Imaging Scripting Template exists for the Device Type. If no Imaging Scripting Template is available, a warning message will display (contact the manufacturer of the device to obtain an Imaging Scripting Template).
Procedure
Step 1
Tip
Figure G-2 Package Wizard
Step 2
Step 3
Step 4
Step 5
Step 6
•
•
Step 7
Step 8
Step 9
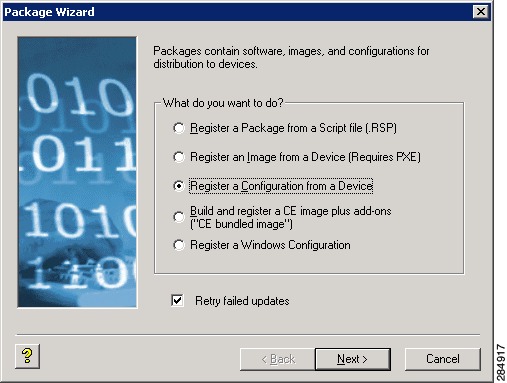
Register a Configuration from a Device
Note
This Package Wizard option pulls a configuration from a device (such as a Reference Device) to easily configure (clone) similar devices within your Cisco VXC Manager installation.
Tip
Prior to using the Package Wizard to pull and register the configuration from a Reference Device, ensure that:
•
•
•
After you ensure your Reference Device is ready, you can continue using the Package Wizard to pull and register the configuration from the device according to your OS:
•
•
Registering a Configuration from Third-party Devices Running Wyse Enhanced SUSE Linux Enterprise or Linux v6.x
Note
Procedure
Step 1
Tip
Step 2
Step 3
Step 4
Step 5
Step 6
Registering a Configuration from Third-party Devices Running Windows CE
Note
Tip
Procedure
Step 1
Tip
Figure G-3 Package Wizard
Step 2
Step 3
Step 4
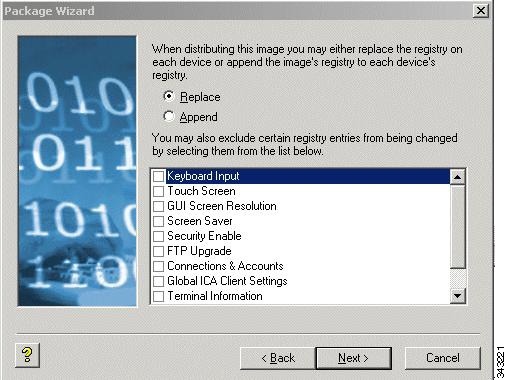
Figure G-4 Replace or Append Registry Entries
Step 5
The entire configuration can either be replaced or appended to your Reference Device configuration when this Cisco VXC Manager package is later distributed.
•
•
•
Step 6
Step 7
Step 8
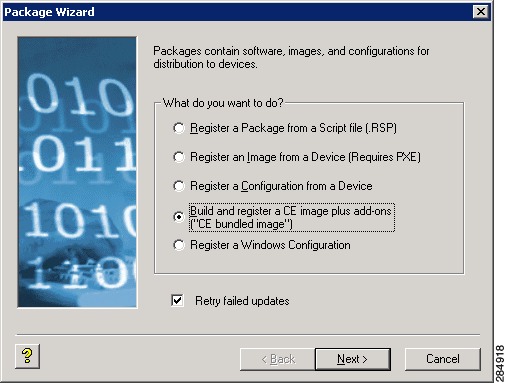
Build and Register a CE Image Plus Add-Ons (CE Bundled Image)
Note
This Package Wizard option creates and registers a CE bundled image comprised of a CE OS image and add-ons.
Procedure
Step 1
Figure G-5 Package Wizard
Step 2
Step 3
Step 4
Step 5
Step 6
Step 7
Caution
Step 8
Tip
Caution
Step 9
Step 10
Step 11
Step 12
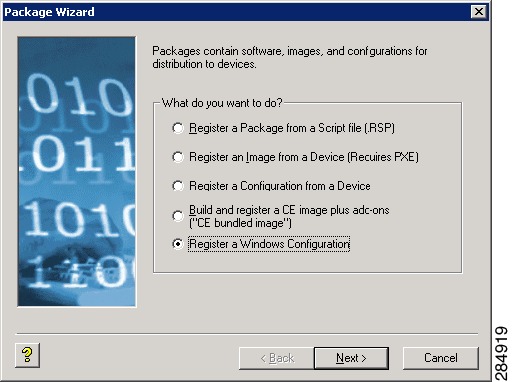
Registering a Windows Configuration
Procedure
Step 1
Figure G-6 Package Wizard
Step 2
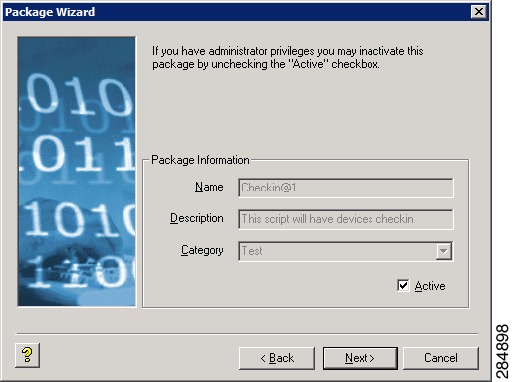
Step 3
Figure G-7 Software Package Information
The Name, Description, and Category of the package is obtained from the .xml file and displayed.
Step 4
Step 5
Step 6
Step 7
Registering an Image from a Device Using WISard
Note
Depending on whether or not you have set up the required preferences so that the Package Wizard automatically uses WISard to create and register an image, complete one of the following:
•
•
Caution
Registering an Image from a Device Using WISard: Initial Setup and Use
Note
After completing this section, you can use the shortened process (Registering an Image from a Device Using WISard: After Initial Setup) to use WISard to create and register an image in the future.
Procedure
Step 1
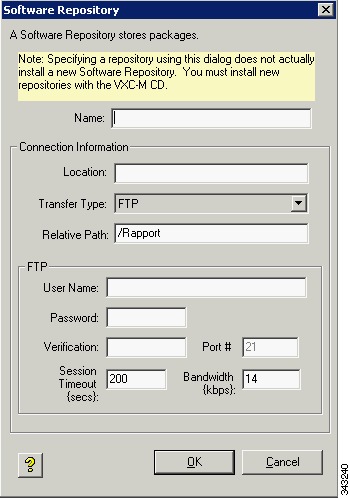
Step 2
Figure G-8 Software Repository
Step 3
Step 4
Step 5
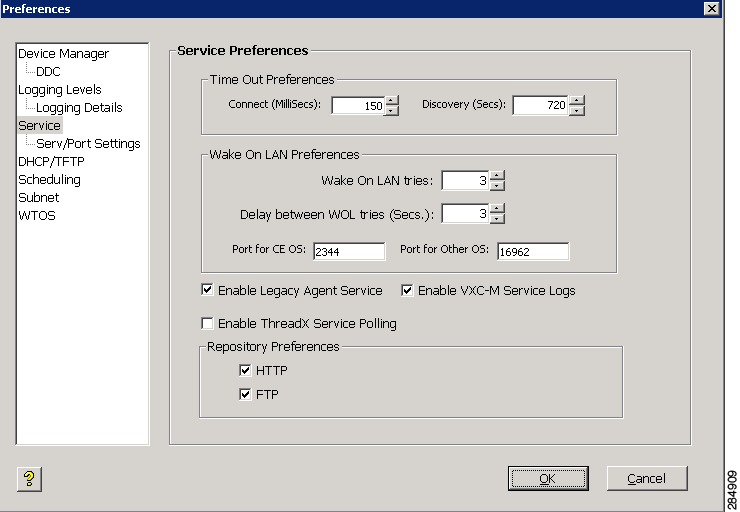
Step 6
Figure G-9 Preferences: Service Preferences
Step 7
Step 8
Figure G-10 Preferences: Scheduling Preferences
Step 9
Step 10
Figure G-11 Preferences: DHCP/TFTP Preferences
Step 11
Step 12
Step 13
Registering an Image from a Device Using WISard: After Initial Setup
Note
Caution
Procedure
Step 1
Step 2
Step 3
Step 4
Step 5
Step 6
Registering an Image from a Device Using Merlin
Note
Depending on whether or not you have set up the required preferences so that the Package Wizard automatically uses Merlin to create and register an image, complete one of the following:
•
•
Caution
Registering an Image from a Device Using Merlin: Initial Setup and Use
Note
Tip
Procedure
Step 1
Step 2
Figure G-12 Software Repository
Step 3
Step 4
Step 5
Step 6
Figure G-13 Preferences: Service Preferences
Step 7
Step 8
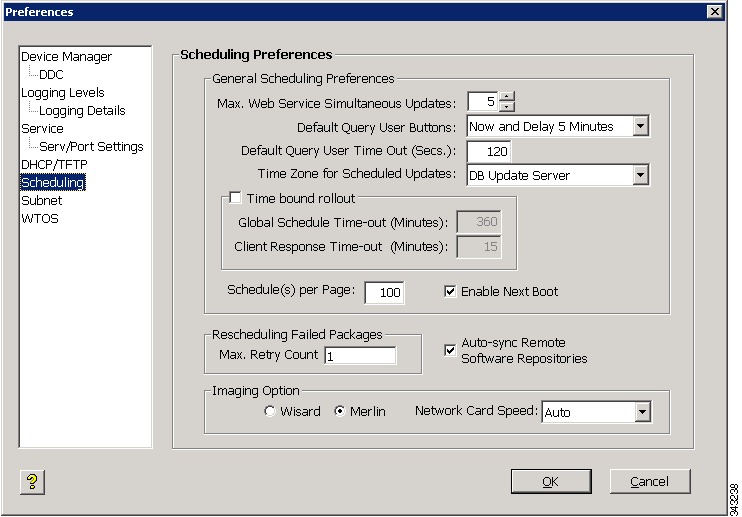
Figure G-14 Preferences: Scheduling Preferences
Step 9
Step 10
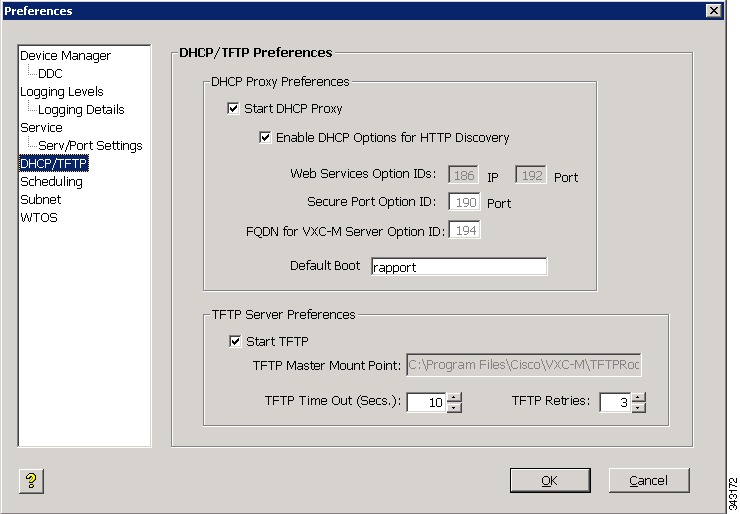
Figure G-15 Preferences: DHCP/TFTP Preferences
Step 11
Step 12
Step 13
Registering an Image from a Device Using Merlin: After Initial Setup
Note
Caution
Procedure
Step 1
Step 2
Step 3
Step 4
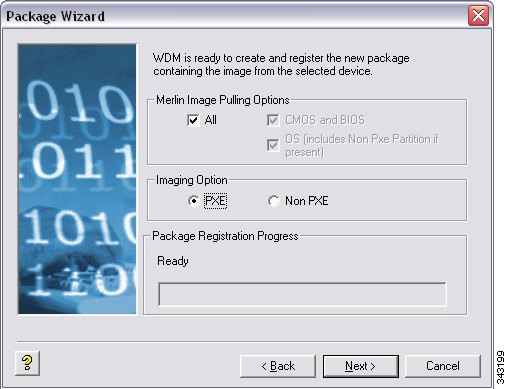
Figure G-16 Merlin Options
Step 5
•
–
–
–
•
–
–
Step 6
Step 7
Step 8