-
Cisco IP Solution Center MPLS VPN User Guide, 4.1
-
Index
-
Preface
-
Getting Started
-
Provisioning Unmanaged Multi-VRF CE
-
Creating Resource Pools
-
Defining VPNs and CERCs
-
MPLS VPN Service Policies
-
MPLS VPN Service Requests
-
Provisioning Regular PE-CE Links
-
Provisioning MVRFCE PE-CE Links
-
Provisioning Management VPN
-
Provisioning Cable Services
-
Provisioning Carrier Supporting Carrier
-
Provisioning Multiple Devices
-
Spanning Multiple Autonomous Systems
-
Creating Custom MPLS Reports
-
IP Solution Center - MPLS VPN
-
Service Request Transition States
-
Troubleshooting MPLS VPN
-
 Feedback
Table Of Contents
Create a Route Distinguisher Pool
Creating Resource Pools
This chapter describes how to create Resource Pools using the Cisco IP Solution Center (ISC) GUI.
This chapter contains the following sections:
•
Create a Route Distinguisher Pool
Overview of Resource Pools
Before creating a service in ISC, you must define your Resource Pools. From these Resource Pools, ISC can automatically assign some values during the provisioning process. You can also manually assign these values during the provisioning process, but it is not recommended.
ISC allocates numbers from the following pools during the provisioning process:
•
•
•
•
•
•
•
Create an IP Address Pool
This section describes how to create an IP Address Pool with the ISC GUI.
To create an IP Address Pool with the ISC GUI, follow these steps:
Step 1
Step 2
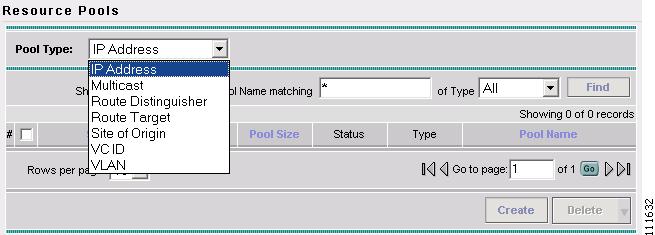
The Resource Pools window appears, as shown in Figure 3-1.
Figure 3-1 Resource Pools
Step 3
Step 4
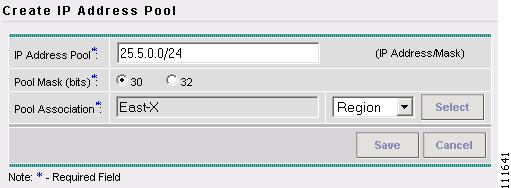
The Create IP Address Pool window appears, as shown in Figure 3-2.
Figure 3-2 Create IP Address Pool
Step 5
Step 6
Note
Step 7
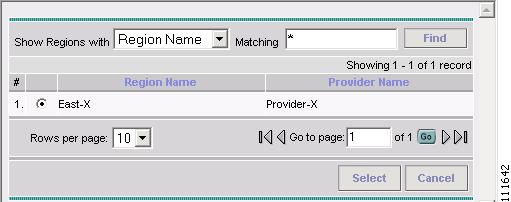
The Choose Region window appears, as shown in Figure 3-3.
Figure 3-3 Choose Region
Step 8
Step 9
The Create IP Address Pool window appears, as shown in Figure 3-4.
Figure 3-4 Create IP Address Pool
Step 10
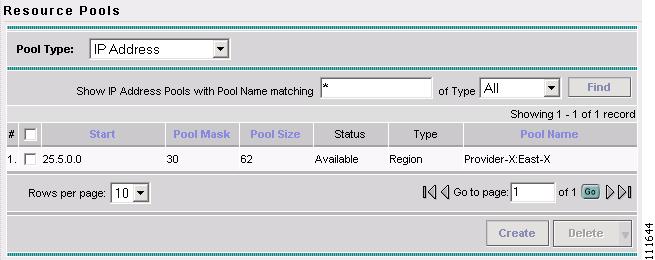
The Resource Pools - IP Address window appears, as shown in Figure 3-5.
Figure 3-5 Resource Pools - IP Address
You have saved an IP Address Pool in the Repository.
Create a Multicast Pool
This section describes how to create a Multicast Address Pool with the ISC GUI.
To create a Multicast Pool with the ISC GUI, follow these steps:
Step 1
Step 2
The Resource Pools window appears (not shown).
Step 3
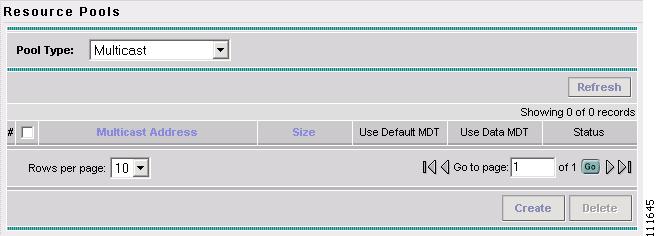
The Resource Pools - Multicast window appears, as shown in Figure 3-6.
Figure 3-6 Resource Pools - Multicast
Step 4
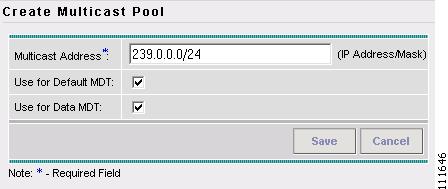
The Create Multicast Pool window appears, as shown in Figure 3-7.
Figure 3-7 Create Multicast Pool
Step 5
Step 6
Step 7
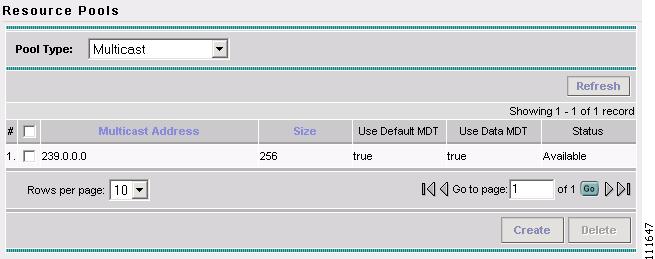
The Resource Pools - Multicast window appears, as shown in Figure 3-6.
Figure 3-8 Resource Pools - Multicast
You have saved a Multicast Address Pool in the Repository.
Create a Route Distinguisher Pool
This section describes how to create a Route Distinguisher Pool with the ISC GUI.
To create a Route Distinguisher Pool with the ISC GUI, follow these steps:
Step 1
Step 2
The Resource Pools window appears (not shown).
Step 3
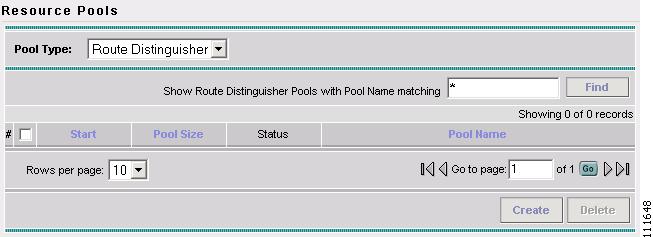
The Resource Pools - Route Distinguisher window appears, as shown in Figure 3-9.
Figure 3-9 Resource Pools - Route Distinguisher
Step 4
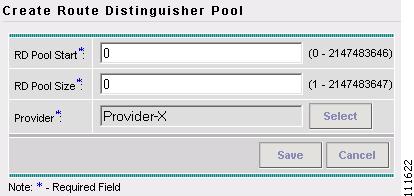
The Create Route Distinguisher Pool window appears, as shown in Figure 3-10.
Figure 3-10 Create Route Distinguisher Pool
Step 5
Step 6
Step 7
The Choose Provider window appears (not shown).
Step 8
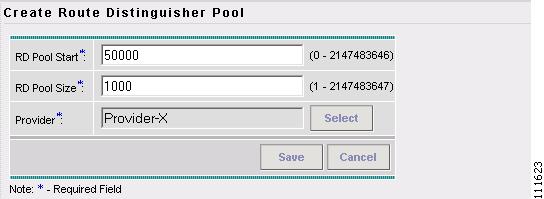
The Create Route Distinguisher Pool window appears, as shown in Figure 3-11.
Figure 3-11 Create Route Distinguisher Pool
Step 9
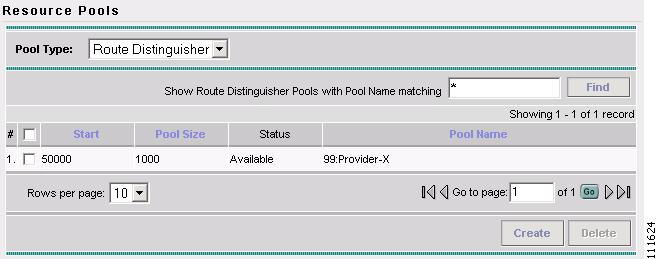
The Resource Pools - Route Distinguisher window appears, as shown in Figure 3-12.
Figure 3-12 Create Route Distinguisher Pool
You have saved a Route Distinguisher Pool in the Repository.
Create a Route Target Pool
This section describes how to create a Route Target Pool with the ISC GUI.
To create a Route Target Pool with the ISC GUI, follow these steps:
Step 1
Step 2
The Resource Pools window appears (not shown).
Step 3
The Resource Pools - Route Target window appears, as shown in Figure 3-13.
Figure 3-13 Create Route Target Pool
Step 4
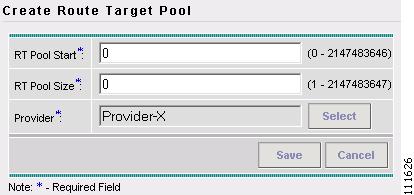
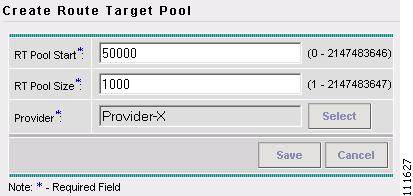
The Create Route Target Pool window appears, as shown in Figure 3-14.
Figure 3-14 Create Route Target Pool
Step 5
Step 6
Step 7
The Choose Provider window appears (not shown).
Step 8
The Create Route Target Pool window appears, as shown in Figure 3-15.
Figure 3-15 Create Route Target Pool
Step 9
The Resource Pools - Route Target window appears, as shown in Figure 3-16.
Figure 3-16 Resource Pools - Route Target
You have saved a Route Target Pool in the Repository.
Create a Site of Origin Pool
This section describes how to create a Site of Origin Pool with the ISC GUI.
To create a Site of Origin Pool with the ISC GUI, follow these steps:
Step 1
Step 2
The Resource Pools window appears (not shown).
Step 3
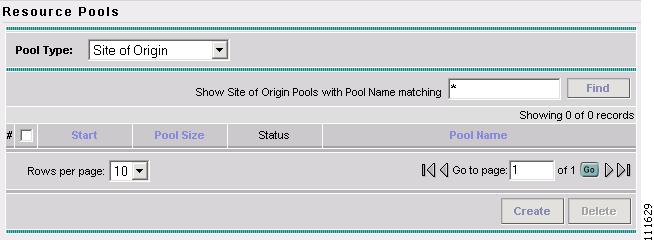
The Resource Pools - Site of Origin window appears, as shown in Figure 3-17.
Figure 3-17 Resource Pools - Site of Origin
Step 4
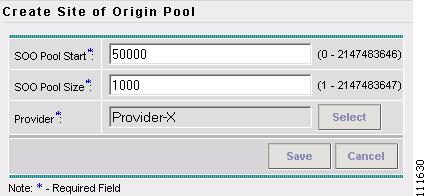
The Create Site of Origin Pool window appears, as shown in Figure 3-18.
Figure 3-18 Create Site of Origin Pool
Step 5
Step 6
Step 7
The Choose Provider window appears (not shown).
Step 8
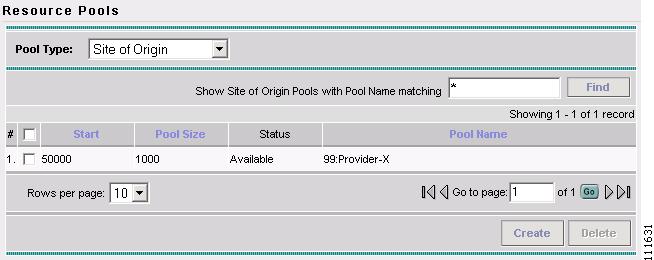
The Create Route Target Pool window appears, as shown in Figure 3-19.
Figure 3-19 Resource Pools - Site of Origin
You have saved a Site of Origin Pool in the Repository.
Create a VC ID Pool
This section describes how to create a Virtual Circuit ID (VC ID) Pool with the ISC GUI.
To create a VC ID Pool with the ISC GUI, follow these steps:
Step 1
Step 2
The Resource Pools window appears (not shown).
Step 3
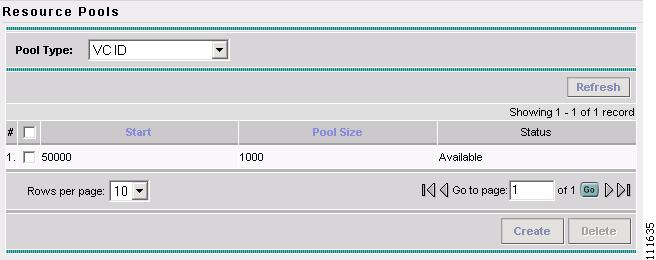
The Resource Pools - VC ID window appears, as shown in Figure 3-20.
Figure 3-20 Resource Pools - VC ID
Step 4
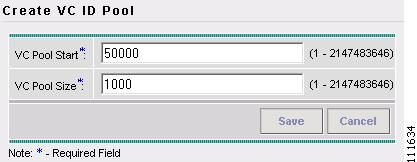
The Create VC ID Pool window appears, as shown in Figure 3-21.
Figure 3-21 Create VC ID Pool
Step 5
Step 6
Step 7
The Resource Pools - VC ID window appears, as shown in Figure 3-22.
Figure 3-22 Resource Pools - VC ID
You have saved a VC ID Pool in the Repository.
Create a VLAN Pool
This section describes how to create a VLAN (VC ID) Pool with the ISC GUI.
To create a VLAN Pool with the ISC GUI, follow these steps:
Step 1
Step 2
The Resource Pools window appears (not shown).
Step 3
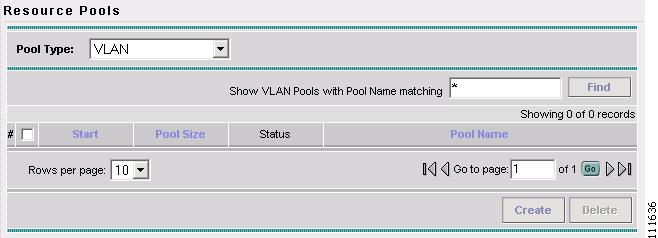
The Resource Pools - VLAN window appears, as shown in Figure 3-23.
Figure 3-23 Resource Pools - VLAN
Step 4
The Create VLAN Pool window appears, as shown in Figure 3-24.
Figure 3-24 Choose Device
Step 5
Step 6
Step 7
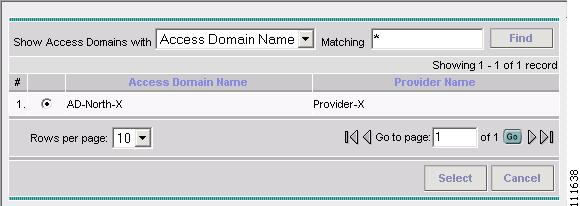
The Choose Access Domain window appears, as shown in Figure 3-25.
Figure 3-25 Choose Access Domain
Step 8
Step 9
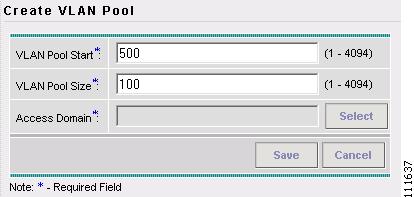
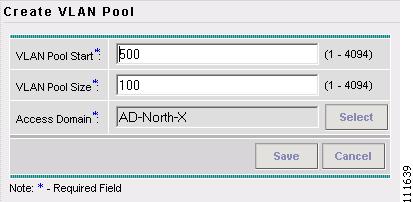
The Create VLAN Pool window appears, as shown in Figure 3-26.
Figure 3-26 Create VLAN Pool
Step 10
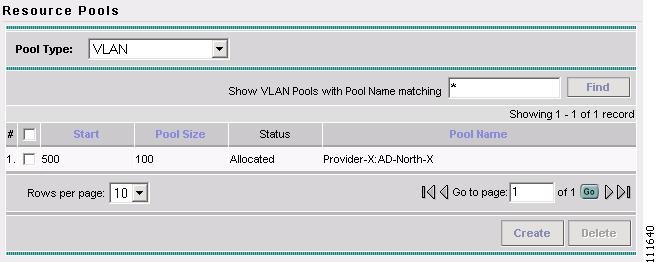
The Resource Pools - VLAN window appears, as shown in Figure 3-27.
Figure 3-27 Resource Pools - VLAN
You have saved a VLAN Pool in the Repository.