Feedback
Table Of Contents
Adding Layer 2 Switches to Discovery
Performing Multicast Discovery
Adding or Rediscovering a Single Device
Getting Started
This chapter covers:
Logging Into the CMM
Note
For details on stopping and starting the CMM application on Solaris and Linux, see the Installation Guide for the Cisco Multicast Manager 2.3.
To access CMM, enter the IP address or the name of the server where the software is installed. For example: http://172.16.0.1:8080. The default port of 8080 can be changed as described in the installation instructions.
Figure 1-1 Login Page for CMM 2.3.4
To enter CMM, click Login. You are prompted for a username and a password. The default CMM username is admin, and the default CMM password is rmsmmt.
Overview
The CMM has two main tools: Administration and Multicast Manager. You can select either tool from the menu at the upper left of the CMM Web interface. You can perform the following tasks with each tool:
Administration
Manage domains
Perform administrative utilities
Configure security
Manage users
Perform discovery
Configure devices
Configure global polling
Manage addresses
Configure specific polling
Multicast Manager
View events through the Home page
•
View Topology
Manage Reporting
Manage Diagnostics
View Help
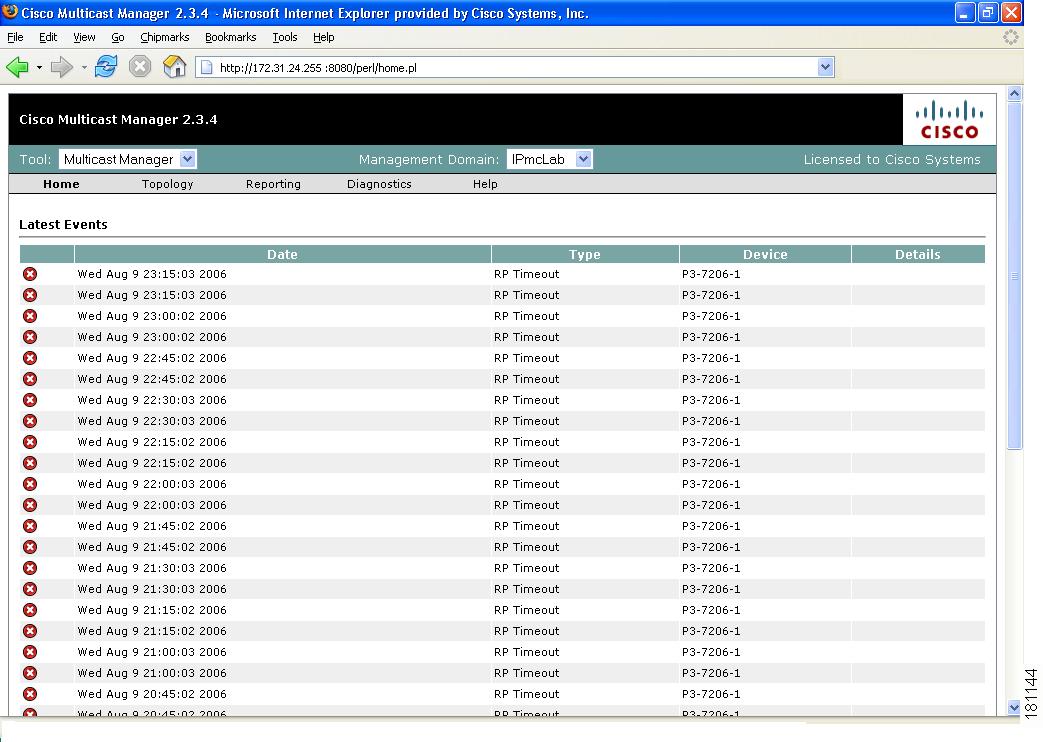
When you first log into the CMM, the Multicast Manager home page appears.
Figure 1-2 Multicast Manager Home Page
For detailed information on this window, see the "Viewing the Multicast Manager Home Page" section on page 3-1.
Creating a Domain
Before you can begin managing your networks, you must create a domain. A domain is a collection of multicast routers. Multiple domains may exist, and routers can belong to multiple domains. Using Domain Management, you can create and edit domains.
To create a domain:
Step 1
Step 2
Step 3
Figure 1-3 System Configuration
Step 4
Management Domain
A management domain is defined as a contiguous group of PIM neighbors sharing the same SNMP community string.
Default Read Only
SNMP read-only community string.
Default Read Write
SNMP read-write community string. This is required for retrieving and validating device configurations.
SNMP Timeout
Retry period if node does not respond. Default value is 0.8.
SNMP Retries
Number of retries to contact a node before issuing a timeout. Default value is 2.
TFTP Server
TFTP server IP address. Default is the IP address of the CMM server.
VTY Password
The VTY password is required if you want to issue show commands from the application. Certain features, such as querying Layer 2 switches, also require this. If TACACS is being used, then a username and password can be supplied instead of the VTY password.
Enable Password
(Not currently used.)
TACACS/RADIUS Username
If you are using TACACS/RADIUS then you can enter a username here. See VTY Password above.
Note
TACACS/RADIUS Password
If you are using TACACS/RADIUS then you can enter a password here. See VTY Password above.
Note
Cache TACACS Info
If this box is checked, CMM will cache the TACACS username and password until the browser is closed. This eliminates having to enter the username and password each time you issue a router command from the application.
Resolve Addresses
Performs DNS lookups on all sources found. The DNS name appears alongside the IP address on the "Show All Groups" screen. If the server is not configured for DNS, then DO NOT check the box. If the box is checked, you may receive a slower response, due to the fact that the application is trying to resolve names. This option is not recommended if your network contains a large number of S,Gs. The Resolve Addresses option also causes discovery to do a reverse DNS lookup on a device name. The IP address returned by DNS is then used for management purposes. Otherwise, the IP address by which the device is found is used for management purposes.
Use SG Cache
Some networks contain thousands of S,Gs. During discovery, CMM caches all the S,Gs found in the RPs. If this box is checked, CMM reads the SG cache when showing lists of sources and groups, rather then retrieving them again from the RPs in the network. The cache is automatically refreshed if RPs are being polled as described later in this document (see the "RP Polling" section on page 2-17). The cache can also be refreshed manually by clicking the Refresh Cache button in the Multicast Diagnostics window (see the "Show All Groups" section on page 4-1). This button appears only if you have the Use SG Cache option selected. It is highly recommended to use the SG cache option. If there are no RPs in the domain being discovered, then the SG cache is created by querying all the devices that have been discovered, as would be the case in a PIM Dense-Mode network. In this case, the SG cache is updated only when you click the Refresh Cache button.
Discovering Your Network
Note
After you have created a domain, the second step in using the CMM is to discover your network using one of these choices, found within the Discovery menu:
•
•
•
•
The discovery process is multicast-specific and finds only devices that are PIM-enabled. CMM builds a database of all found devices. Discovery adds support for multiple community strings per domain, along with device-specific SNMP timeout and retries.
Note
A single router may also be added or rediscovered on the network. A router being added must have a connection to a device that already exists in the database. A router that is being rediscovered is initially removed from the database, along with any neighbors that exist in the database. The router and its neighbors are then added back into the database. This option would be used if a change on a device has caused a change in the SNMP ifIndexes.
Note
Adding Layer 2 Switches to Discovery
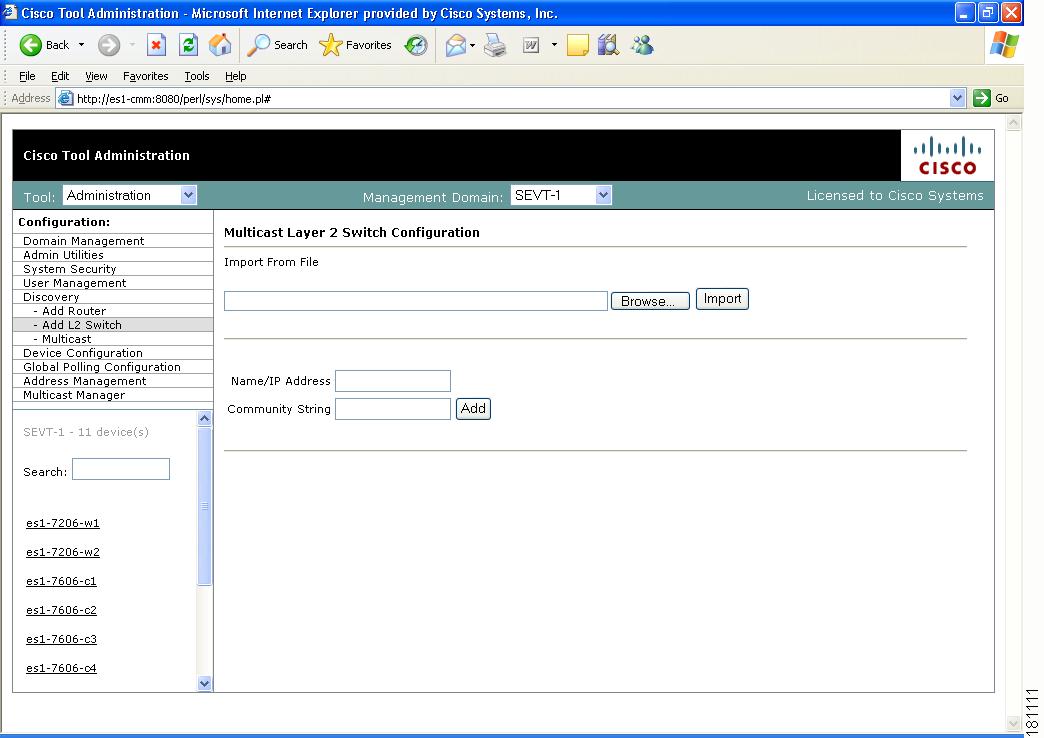
Layer 2 switches are not included in discovery and must be added manually. You can add switches individually, or you can import a list of switches in a csv file.
To add switches individually, enter the switch name or IP address and the community string, then click Add.
To import a list of switches:
Step 1
#import file format switch IP address or switch name# this line will be skippedswitchA192.168.1.1switchC10.10.10.1Step 2
Step 3
Step 4
Figure 1-4 Multicast Layer 2 Switch Configuration
Step 5
Step 6
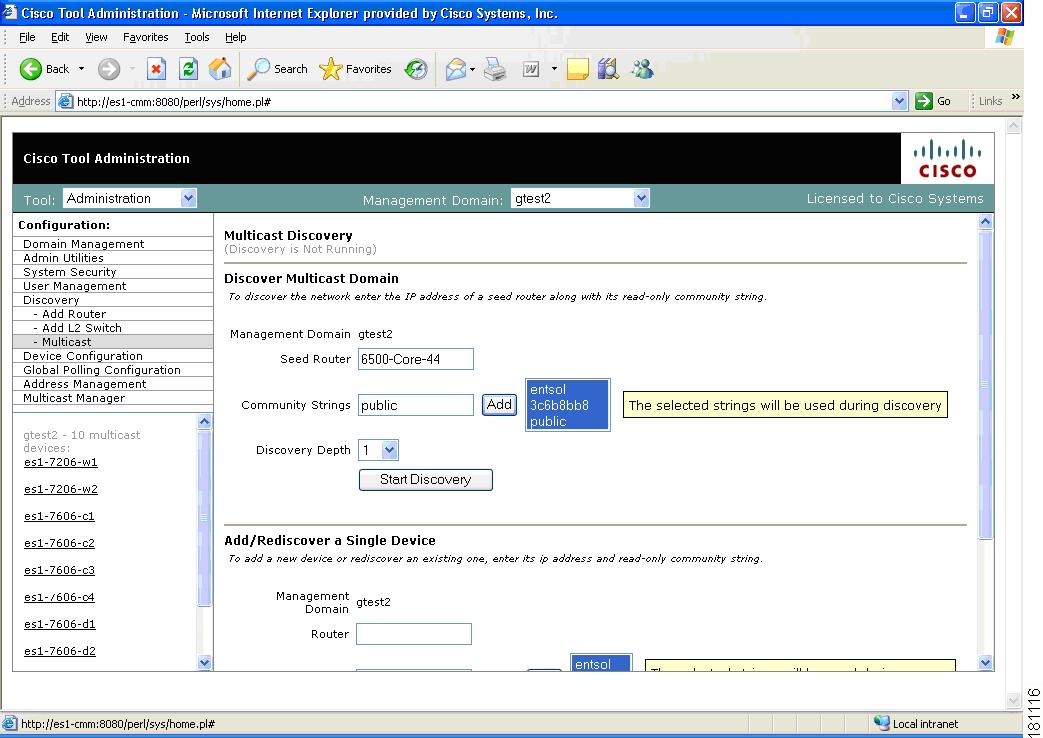
Performing Multicast Discovery
To perform a new multicast discovery:
Step 1
Step 2
Figure 1-5 Multicast Discovery
Step 3
Step 4
Note
CMM discovers all routers in the network that are multicast enabled and have interfaces participating in multicast routing. If the discovery fails to find any routers, or if there are routers in the network that you expected to discover but did not, check the following:
•
•
•
•
When discovery is complete, the browser window displays the time it took to discover the network and the number of devices discovered:
Discovery took 15 secondsDiscovered 5 routersThe time the discovery takes depends on the number of routers, number of interfaces, and router types.
If the discovery seems to stop at a particular router, or seems to pause, check that particular router's connectivity to its PIM neighbors. Also, check the PIM neighbor to see if it supports the PIM and IPMROUTE MIBs. Again, because the discovery is multicast-specific, unless these MIBs are supported, the device will not be included in the database. Issuing the sh snmp mib command on a router gives this information.
When discovery finishes, you can view the discovered routers in the lower left pane.
Adding or Rediscovering a Single Device
To add or rediscover a single device:
Step 1
Step 2
Step 3