Feedback
Table Of Contents
Cisco TelePresence Touch 12 Navigation Basics
Primary and Secondary Button Bar
Standard and Special Characters Keyboard
Buttons on the Cisco TelePresence Touch 12 Console
Cisco TelePresence Touch 12 Navigation Basics
Revised: February 2013, OL-28617-01Contents
Use the information in the following sections to help you become familiar with the Cisco TelePresence Touch 12:
•
Primary and Secondary Button Bar
•
•
Primary and Secondary Button Bar
The primary and secondary button bars are the main navigation tools for Cisco TelePresence Touch 12, as shown in Figure 1-1. Buttons appear blue when selected. Table 1-1 describes button functions.
Primary Button Bar
The primary button bar is the default; choose from the following options:
•
Secondary Button Bar
Tap the More button to bring up the next set of buttons in the secondary button bar:
Figure 1-1 Cisco TelePresence Touch 12 Primary and Secondary Button Bars
Table 1-1 Cisco TelePresence Touch 12 Primary and Secondary Buttons
Opens the keypad or the keyboard to place a call.
See Using the Keypad and Dialing a URI String Using the Keyboard.
Tap to see a list of scheduled meetings.
Tap to bring up the Directory or Favorites menus to make a call.
TipTo dismiss the Call window, tap the X in the upper right corner.
See Placing a Call.
Tap to control your meeting presentations including video sharing, PiP placement on screen, and video input sources.
TipTo dismiss the Presentation window, tap the X in the upper right corner.
Tap More to bring up the secondary button bar. To dismiss the secondary button bar, tap Less.
Tip
Tap to manage your system settings:
•
•
Tip
•
•
Tap to access video recording options.
TipSee Managing Recordings.
Tap to control the Digital Media Player (DMP) or similar media device.
Tip
Tap to access Document Camera controls.
TipSelf View
Allows you to see yourself as you are viewed by other participants.
See Using Self View.
Status
Provides you with system status (Call status, system status, peripheral status) and allows you to report a problem.
Tap to see yourself before a meeting starts.
TipSee Using Self View.
Tap to access the following information about your system:
•
–
–
–
–
–
–
•
–
–
–
–
–
•
–
–
–
•
–
–
–
–
–
–
Numeric Keypad
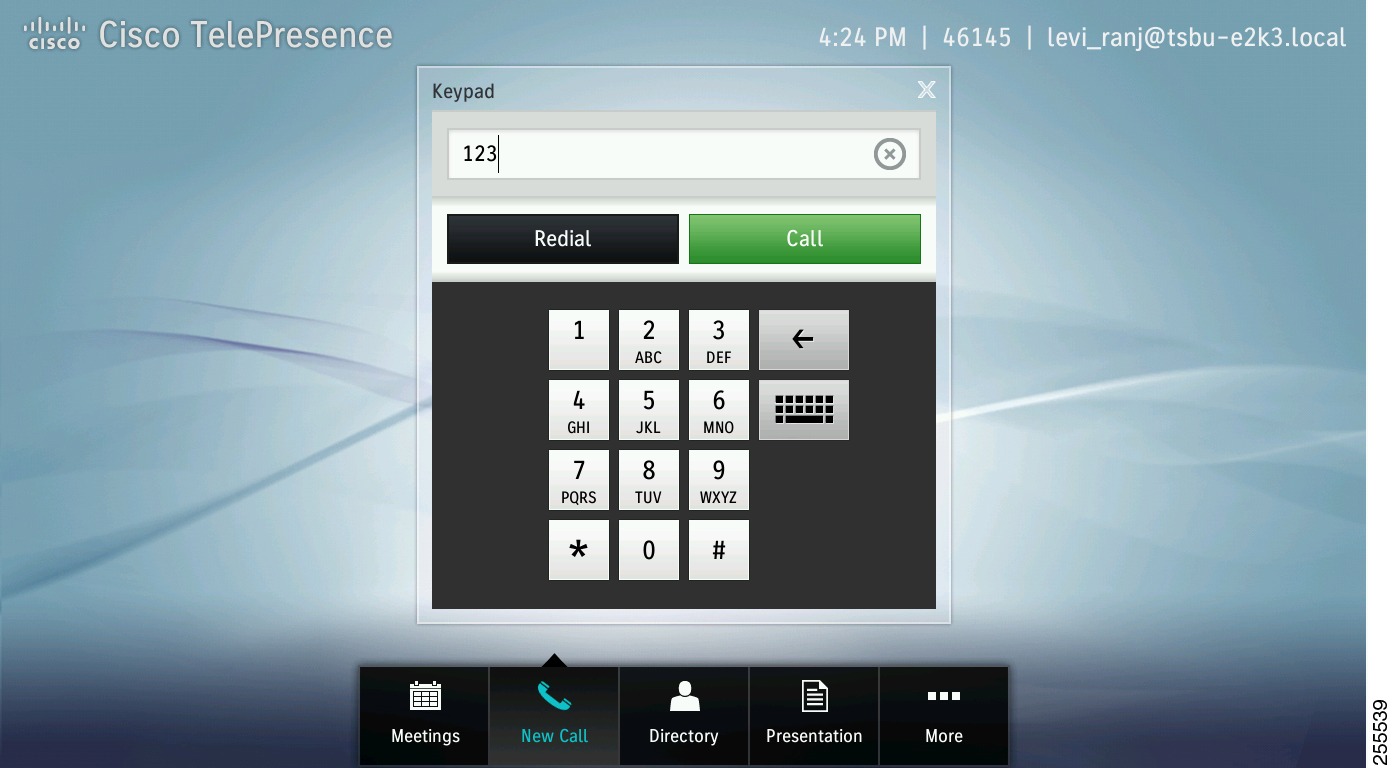
The numeric keypad (Figure 1-2) is available any time that you need to manually dial phone numbers or enter touch tones. See Using the Keypad.
Figure 1-2 Numeric Keypad
For more information about placing calls, see Chapter 2 "Placing and Receiving Calls."
Standard and Special Characters Keyboard
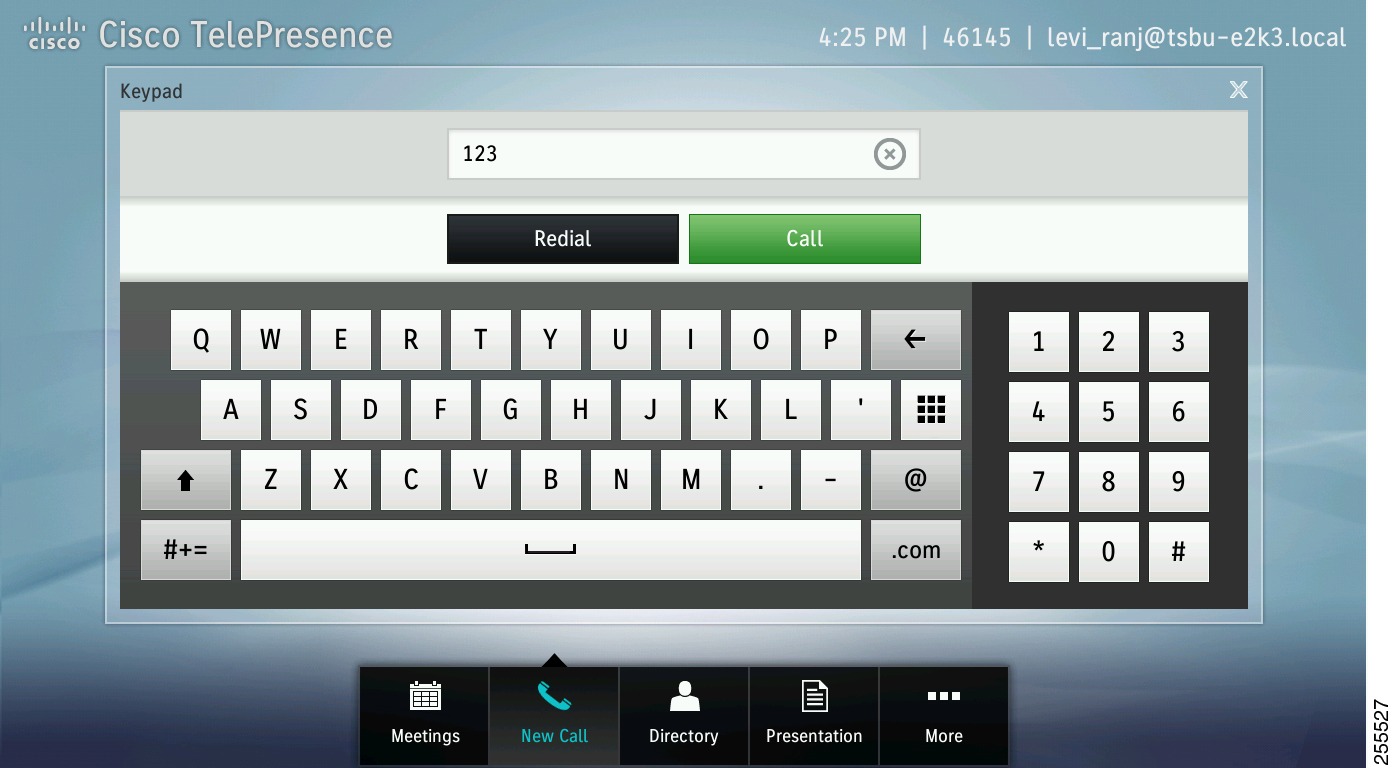
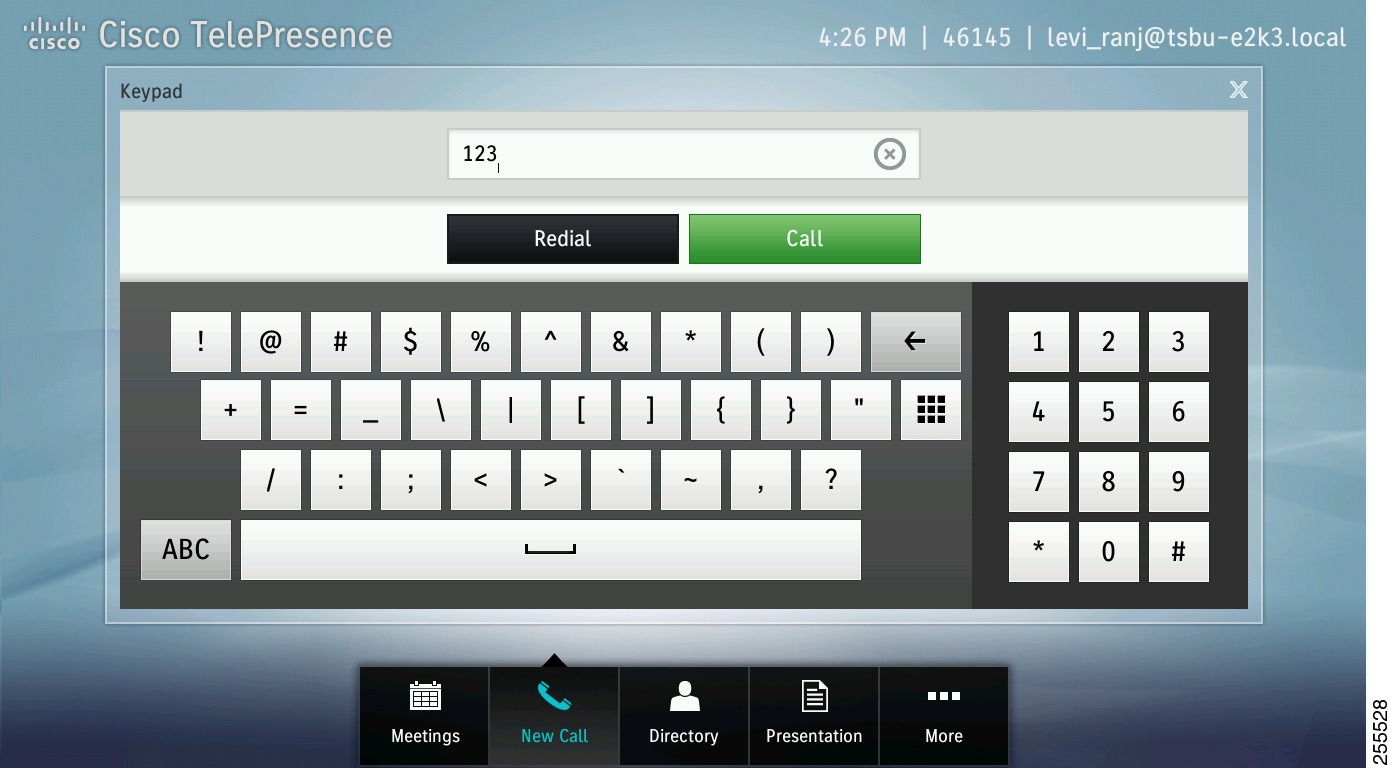
The standard (Figure 1-3) and special characters (Figure 1-4) keyboard are available any time that you need to enter names or email addresses.
Figure 1-3 Standard Keyboard
Figure 1-4 Special Characters Keyboard
Tip
To close the keyboard at any time, tap the X icon or tap outside the keyboard.For more information about using the keyboard, see Chapter 2 "Placing and Receiving Calls."
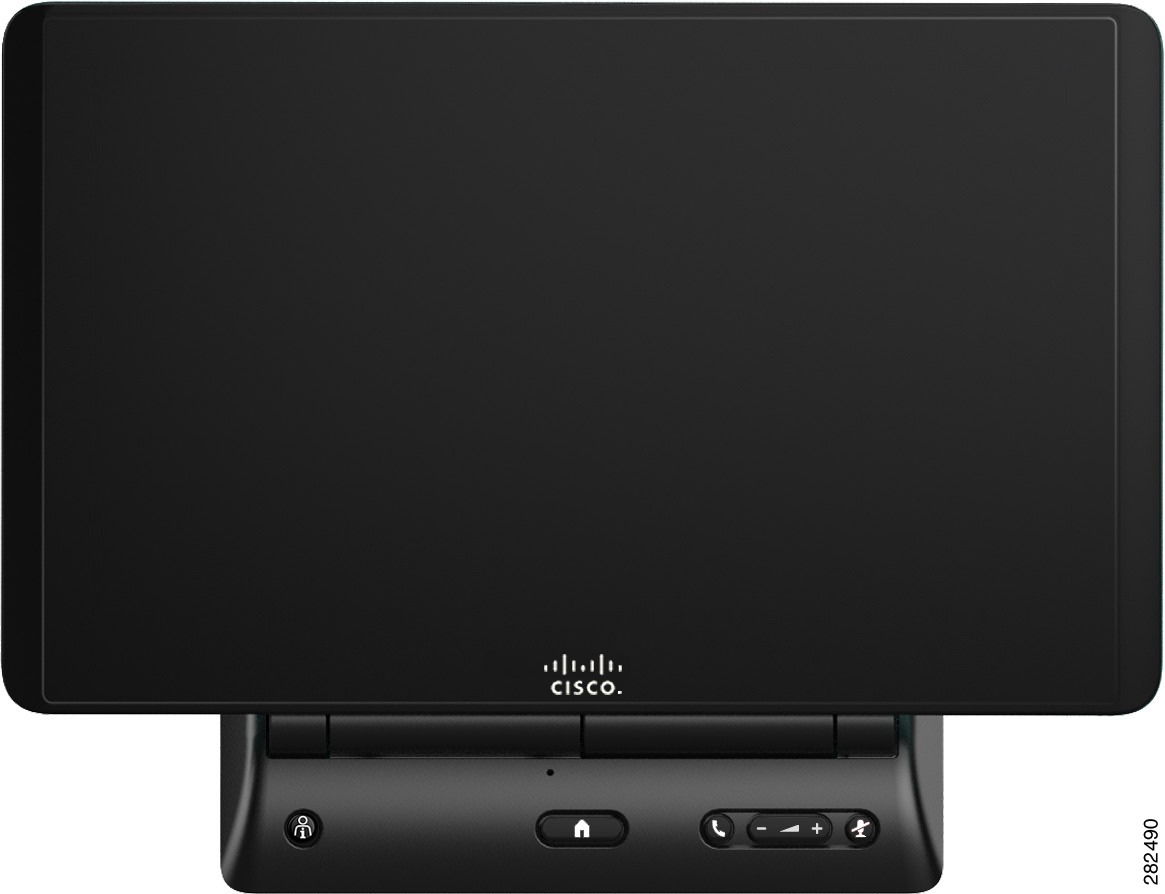
Buttons on the Cisco TelePresence Touch 12 Console
Figure 1-5 shows the Cisco TelePresence Touch 12 console buttons.
Figure 1-5 Cisco TelePresence Touch 12 Console
Table 1-2 describes the buttons on the Cisco TelePresence Touch 12 console.
Table 1-2 Cisco TelePresence Touch 12 Console Buttons
Press to launch a call to the Live Desk support number. Any active calls are placed on hold.
Tip
Press to return to your configured "home" window or back to the active call if you are in a call and have navigated away. This button is always backlit in blue.
Press to answer a call when the Incoming Call dialog is displayed on the Cisco TelePresence Touch 12 screen. The button will appear backlit in green when selected.
If there is already an active call, that call is placed on hold so that you can answer the incoming call.
TipSee Answering or Ending Calls Using the Answer Button on the Console.
Control call volume using the volume toggle on the console.
Tip•
•
•
Mute yourself and the entire meeting room by pressing the Mute button on the Cisco TelePresence Touch 12 console. The button will appear backlit in red when selected.
Tip