Feedback
Table Of Contents
Launching Chassis Manager without SSL
Launching Chassis Manager with SSL
Logging Out of Chassis Manager
Understanding Access Privileges
Getting Started
This chapter describes how to get started using Chassis Manager and contains these sections:
•
Understanding Access Privileges
Preparing Your Device
To launch Chassis Manager on your Server Switch, you must do the following tasks:
•
•
•
Note
If your device meets these requirements, proceed to the "Launching Chassis Manager" section. Otherwise, to prepare your device, follow these steps:
Note
Step 1
Step 2
SFS-7000> enableSFS-7000#Step 3
SFS-7000# configure terminalSFS-7000(config)#Step 4
SFS-7000(config)# interface mgmt-ethernetSFS-7000(config-if-mgmt-ethernet)#Step 5
SFS-7000(config-if-mgmt-ethernet)# ip address 10.3.102.66 255.255.0.0Step 6
SFS-7000(config-if-mgmt-ethernet)# gateway 10.3.0.1Step 7
SFS-7000(config-if-mgmt-ethernet)# no shutdownStep 8
SFS-7000(config-if-mgmt-ethernet)# exitStep 9
a.
SFS-7000(config)# ip http serverb.
SFS-7000(config)# ip http secure-server
Launching Chassis Manager
Chassis Manager without SSL requires no additional setup. Chassis Manager with SSL requires additional steps based on your browser. This section describes how to do both procedures.
Launching Chassis Manager without SSL
To launch Chassis Manager without SSL, follow these steps:
Step 1
Step 2
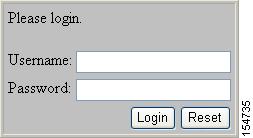
A login window opens. Figure 2-1 displays the login window.
Figure 2-1 Chassis Manager Login Window
Step 3
Chassis Manager loads in your browser window.
Launching Chassis Manager with SSL
SSL setups vary by browser types. The following sections explain how to launch Chassis Manager with SSL using particular browsers.
Netscape/Mozilla
To launch a secure Chassis Manager connection using the Netscape/Mozilla browser, follow these steps:
Step 1
Step 2
A login window opens.
Step 3
Mozilla dynamically manages your certificate.
Step 4
Chassis Manager loads in your browser window.
Internet Explorer
To launch a secure Chassis Manager connectionusing the Internet Explorer browser, follow these steps:
Step 1
Step 2
(You configured the IP address in Step 5 of "Preparing Your Device" section.)
Step 3
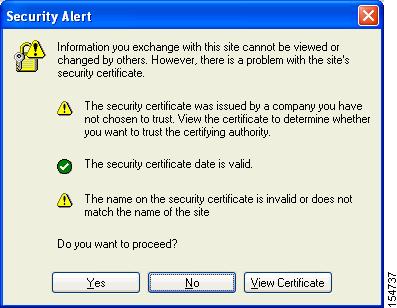
A Security Alert window opens.
Figure 2-2 Security Alert Window
Step 4
The Certificate window opens.
Step 5
Step 6
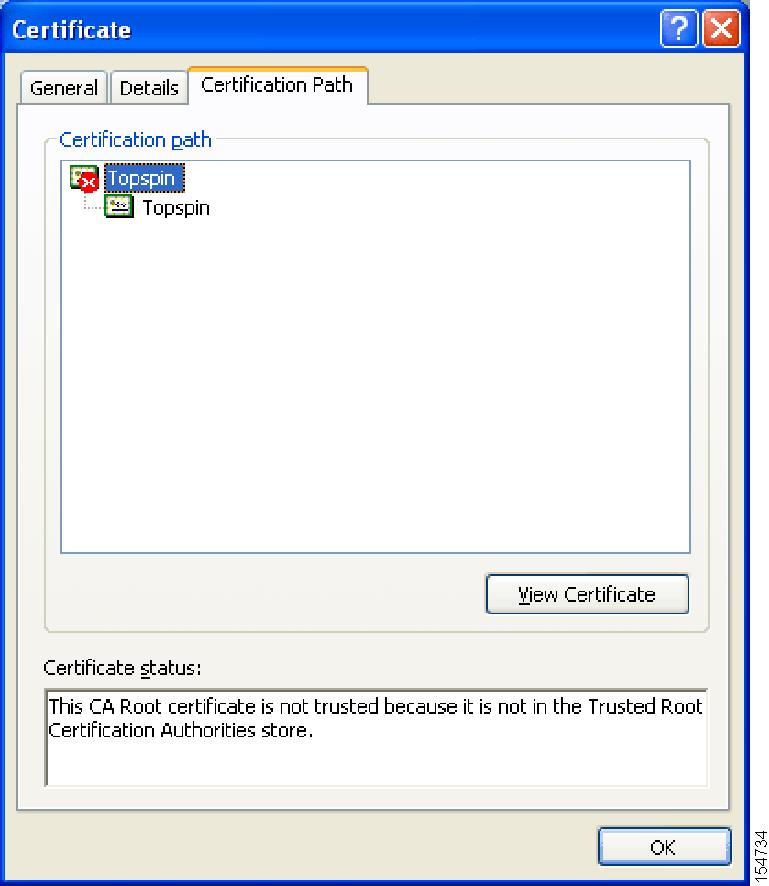
You see the screen in Figure 2-3.
Figure 2-3 Certification Path
Step 7
Step 8
Step 9
Step 10
Step 11
The Select Certificate Store window opens.
Step 12
Step 13
Avoiding Error Messages
By default, SSL certificates map to the IP address of the Ethernet Management Port of a Server Switch. If you enter the system name of your host (that you configure with the hostname command) or the IP address of the InfiniBand Management Port of your Server Switch to launch Chassis Manager, your browser displays an alert. The alert cautions you that the name on the certificate does not match the name of the site. This hostname mismatch message reappears after you log in and the java applet begins to load. To avoid this message entirely, configure your Server Switch to use the identifier that you enter in the browser to verify certificates.
To configure the certificate name to use the system name, follow these steps:
Step 1
Login: superPassword: xxxxxStep 2
SFS-270> enableSFS-270#Step 3
SFS-270# configure terminalSFS-270(config)#Step 4
SFS-270(config)# ip http secure-cert-common-name useSysNameWhen you open Chassis Manager with the system name of your Server Switch, error messages will not repeatedly appear.
Logging Out of Chassis Manager
To log out of Chassis Manager, close the web browser window that displays the GUI. If you have multiple windows open (such as the main window and a properties window), close all of the windows.
Navigating Chassis Manager
The Tree frame of the web-based interface provides a high-level map of Chassis Manager. As you move from display to display in Chassis Manager, the View frame constantly reminds you where you are in the system.
When you click a branch in the Tree frame, the title of the display that appears in the View frame matches the name of the branch. Directly below the display title appears a tiered locator that details the level of the current display in relation to other elements of Chassis Manager. For instance, when you click the Cards branch of the Chassis icon, the following locator string appears:
A.B.C.D > Chassis > Cards
In this instance, A.B.C.D represents the IP address of your Server Switch. The tiered locator indicates that your current display is the Cards display, which is a branch of the Chassis icon on the device with an IP address of A.B.C.D.
When you further filter your display, the View frame indicates the new level of granularity. For instance, if you view the ports on a particular gateway card instead of all ports on the device, a tiered locator appears, followed by a filter indicator. If you view only external ports on an Ethernet gateway in slot 4, the following identifiers appear:
A.B.C.D > Chassis > Ports
Filter : Card = 4
The second identifier indicates that the display shows only the ports on Card 4.
Moving Backward
Because no formal "move backward" function exists in Chassis Manager, use one of the following options to return to a previous display:
•
•
•
Note
Refreshing Views
Chassis Manager lets you update most displays to reflect changes that occurred since you opened the display. To refresh your view, click the Refresh button in your display.
Understanding Access Privileges
The functionality available to you from Chassis Manager varies based on the access privileges of your username. If you do not have read access to a particular technology, the icon and branches for that technology do not appear in your GUI. If you do not have write access to a particular technology, the configuration options for that technology do not appear in your GUI.
Viewing the Device Status
Chassis Manager provides an overview of the status of the components of your Server Switch.
Note
Items that appear in green are active. Items that appear in gray are not active. Items that appear in red are faulty or administratively down.