Feedback
Table Of Contents
Accessing Applications with the Application Browser
Viewing the Connection Manager
Configuring the Cisco VXC Manager Agent
Configuring Volume Control Settings
Opening a Firefox Web Browser Session
Accessing Applications with the Application Browser
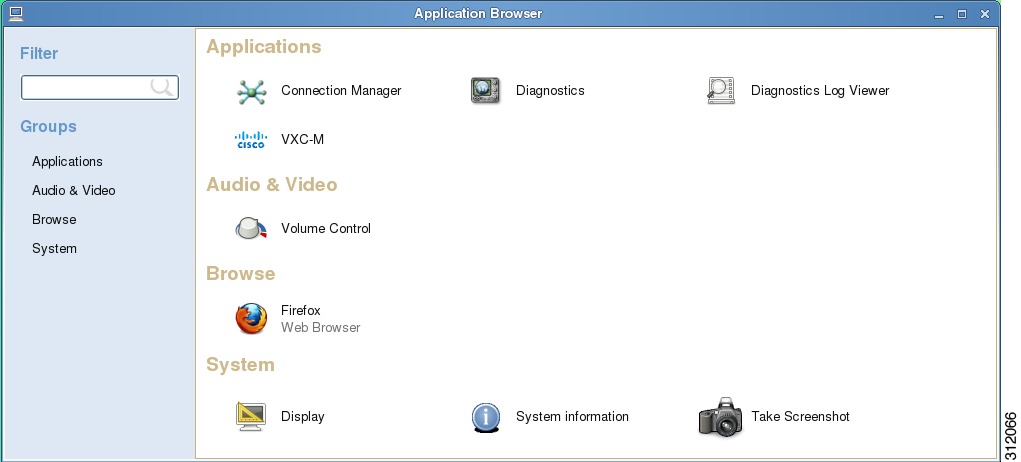
This chapter provides detailed information about using the Application Browser to access the applications, audio and video, and system features that are installed on the thin client.
Click More Applications in the Computer menu (see Using Your Desktop) to open the Application Browser.
Figure 4-1 Application Browser
This chapter includes information on:
•
Viewing the Connection Manager
•
•
•
Viewing the Connection Manager
Click the Connection Manager icon in the Application Browser to open the Connection Manager. Use the Connection Manager to view connections on your Desktop.
Performing Diagnostics
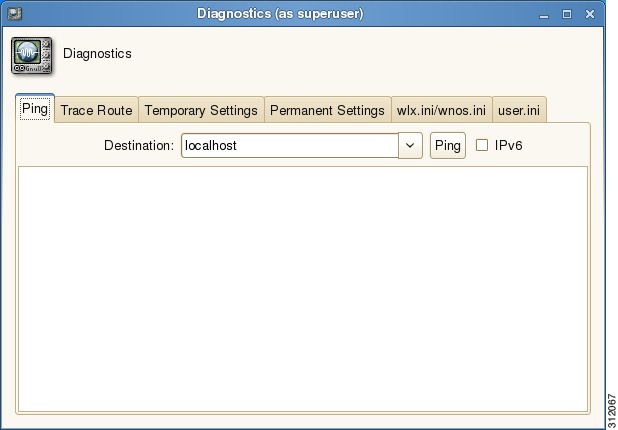
Click Diagnostics in the Application Browser to open the Diagnostics dialog box. Use this dialog box to choose and use one of the following diagnostic tools:
•
•
•
•
•
Note
•
Note
Figure 4-2 Diagnostics Dialog Box
Viewing Diagnostic Logs
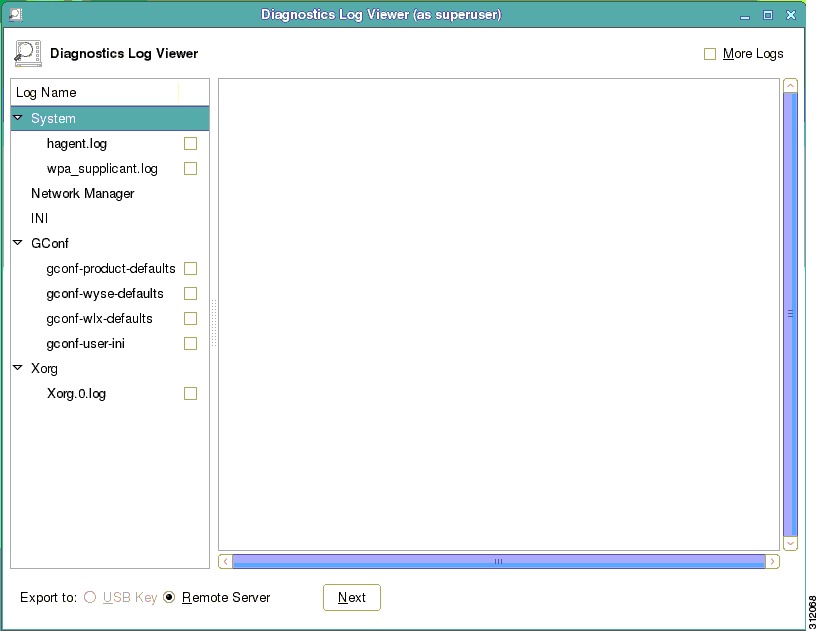
Click Diagnostics Log Viewer in the Application Browser to open the Diagnostics Log Viewer dialog box. The Diagnostic Log Viewer allows you to display and export log files to a USB key or to a remote server.
Figure 4-3 Diagnostic Log Viewer
To highlight a log file, click the name of the log file in the Log Name list. The Diagnostic Log Viewer then displays messages related to the log file.
To include debug messages in the displayed list, check the More Logs check box, click Apply, and then restart the device for the changes to take effect. When you highlight the log file after the reset, the Diagnostic Log Viewer displays the debug messages.
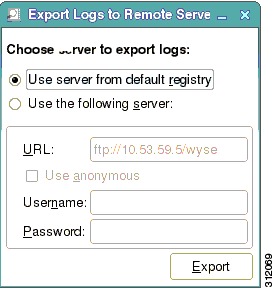
You can export log files to a connected USB Key or to a Remote Server, as follows:
•
•
Note that you can export the files to a default server (server from the default registry) by clicking Use server from default registry, or to any server by clicking Use the following server and specifying the server path in the URL field.
Figure 4-4 Export Logs to Remote Server Dialog Box
Note
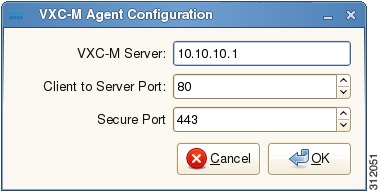
Configuring the Cisco VXC Manager Agent
Click Cisco VXC-M in the Application Browser to open the Cisco VXC-M Agent Configuration dialog box. Use this dialog box to configure the Cisco VXC Manager server location.
Tip
Figure 4-5 VXC Manager Agent Configuration Dialog Box
To configure the Cisco VXC Manager server location, perform the following procedure:
Procedure
Step 1
Step 2
Step 3
Step 4
After you reboot the thin client, the thin client performs a checkin with the Cisco VXC Manager.
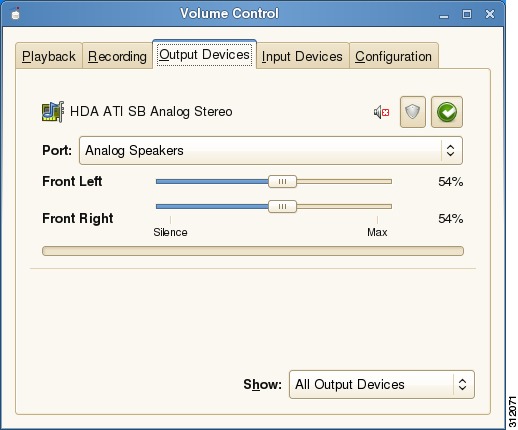
Configuring Volume Control Settings
Click Volume Control in the Application Browser to open the Volume Control dialog box. Use this dialog box to set volume preferences for Playback (system sounds), Recording (application recording sounds), Output Devices (left and right sounds), Input Devices (left and right sounds), and Configuration (profile). You can use the Show list on the Playback, Recording, Output Devices, and Input Devices tabs to choose which items you want shown.
Figure 4-6 Volume Control Dialog Box
Tip
Opening a Firefox Web Browser Session
Click the Firefox icon in the Application Browser to open a Firefox web browser session.
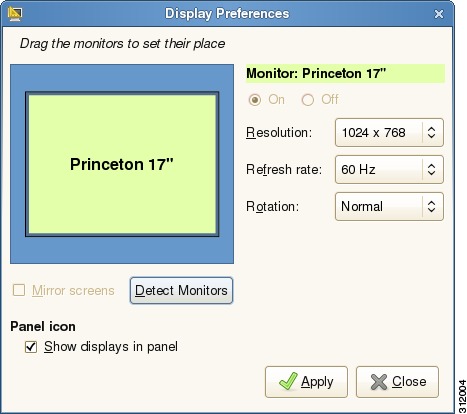
Configuring Display Settings
Click Display in the Application Browser to open the Display Preferences dialog box. Use this dialog box to set the monitor display settings (Primary Display Output, Resolution, Refresh Rate, and Rotation). For most monitors, the thin client automatically obtains the correct resolution from the monitor.
Note
Figure 4-7 Display Preferences Dialog Box
Viewing System Information
Click System Information in the Application Browser to open the System Information dialog box. See Viewing System Information for details.
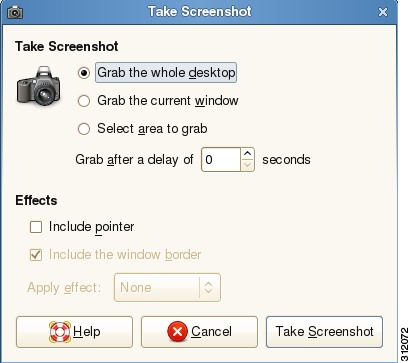
Taking Screenshots
Click Take Screenshot in the Application Browser to open the Take Screenshot dialog box. Use this dialog box to set screenshot preferences and effects (for example, entire desktop with pointer, current window with a border, or a selected area). After setting your preferences, click Take Screenshot to take the screenshot and open the Save Screenshot dialog box allowing you to name and save the file.
Figure 4-8 Take Screenshot Dialog Box